
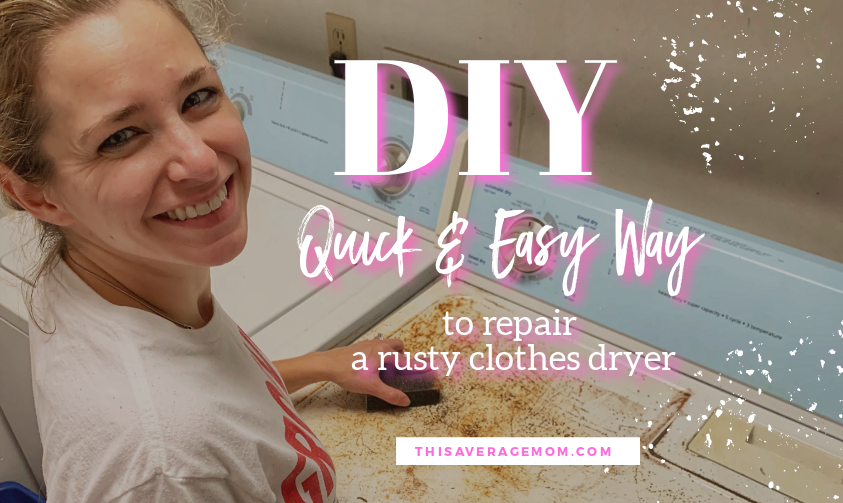
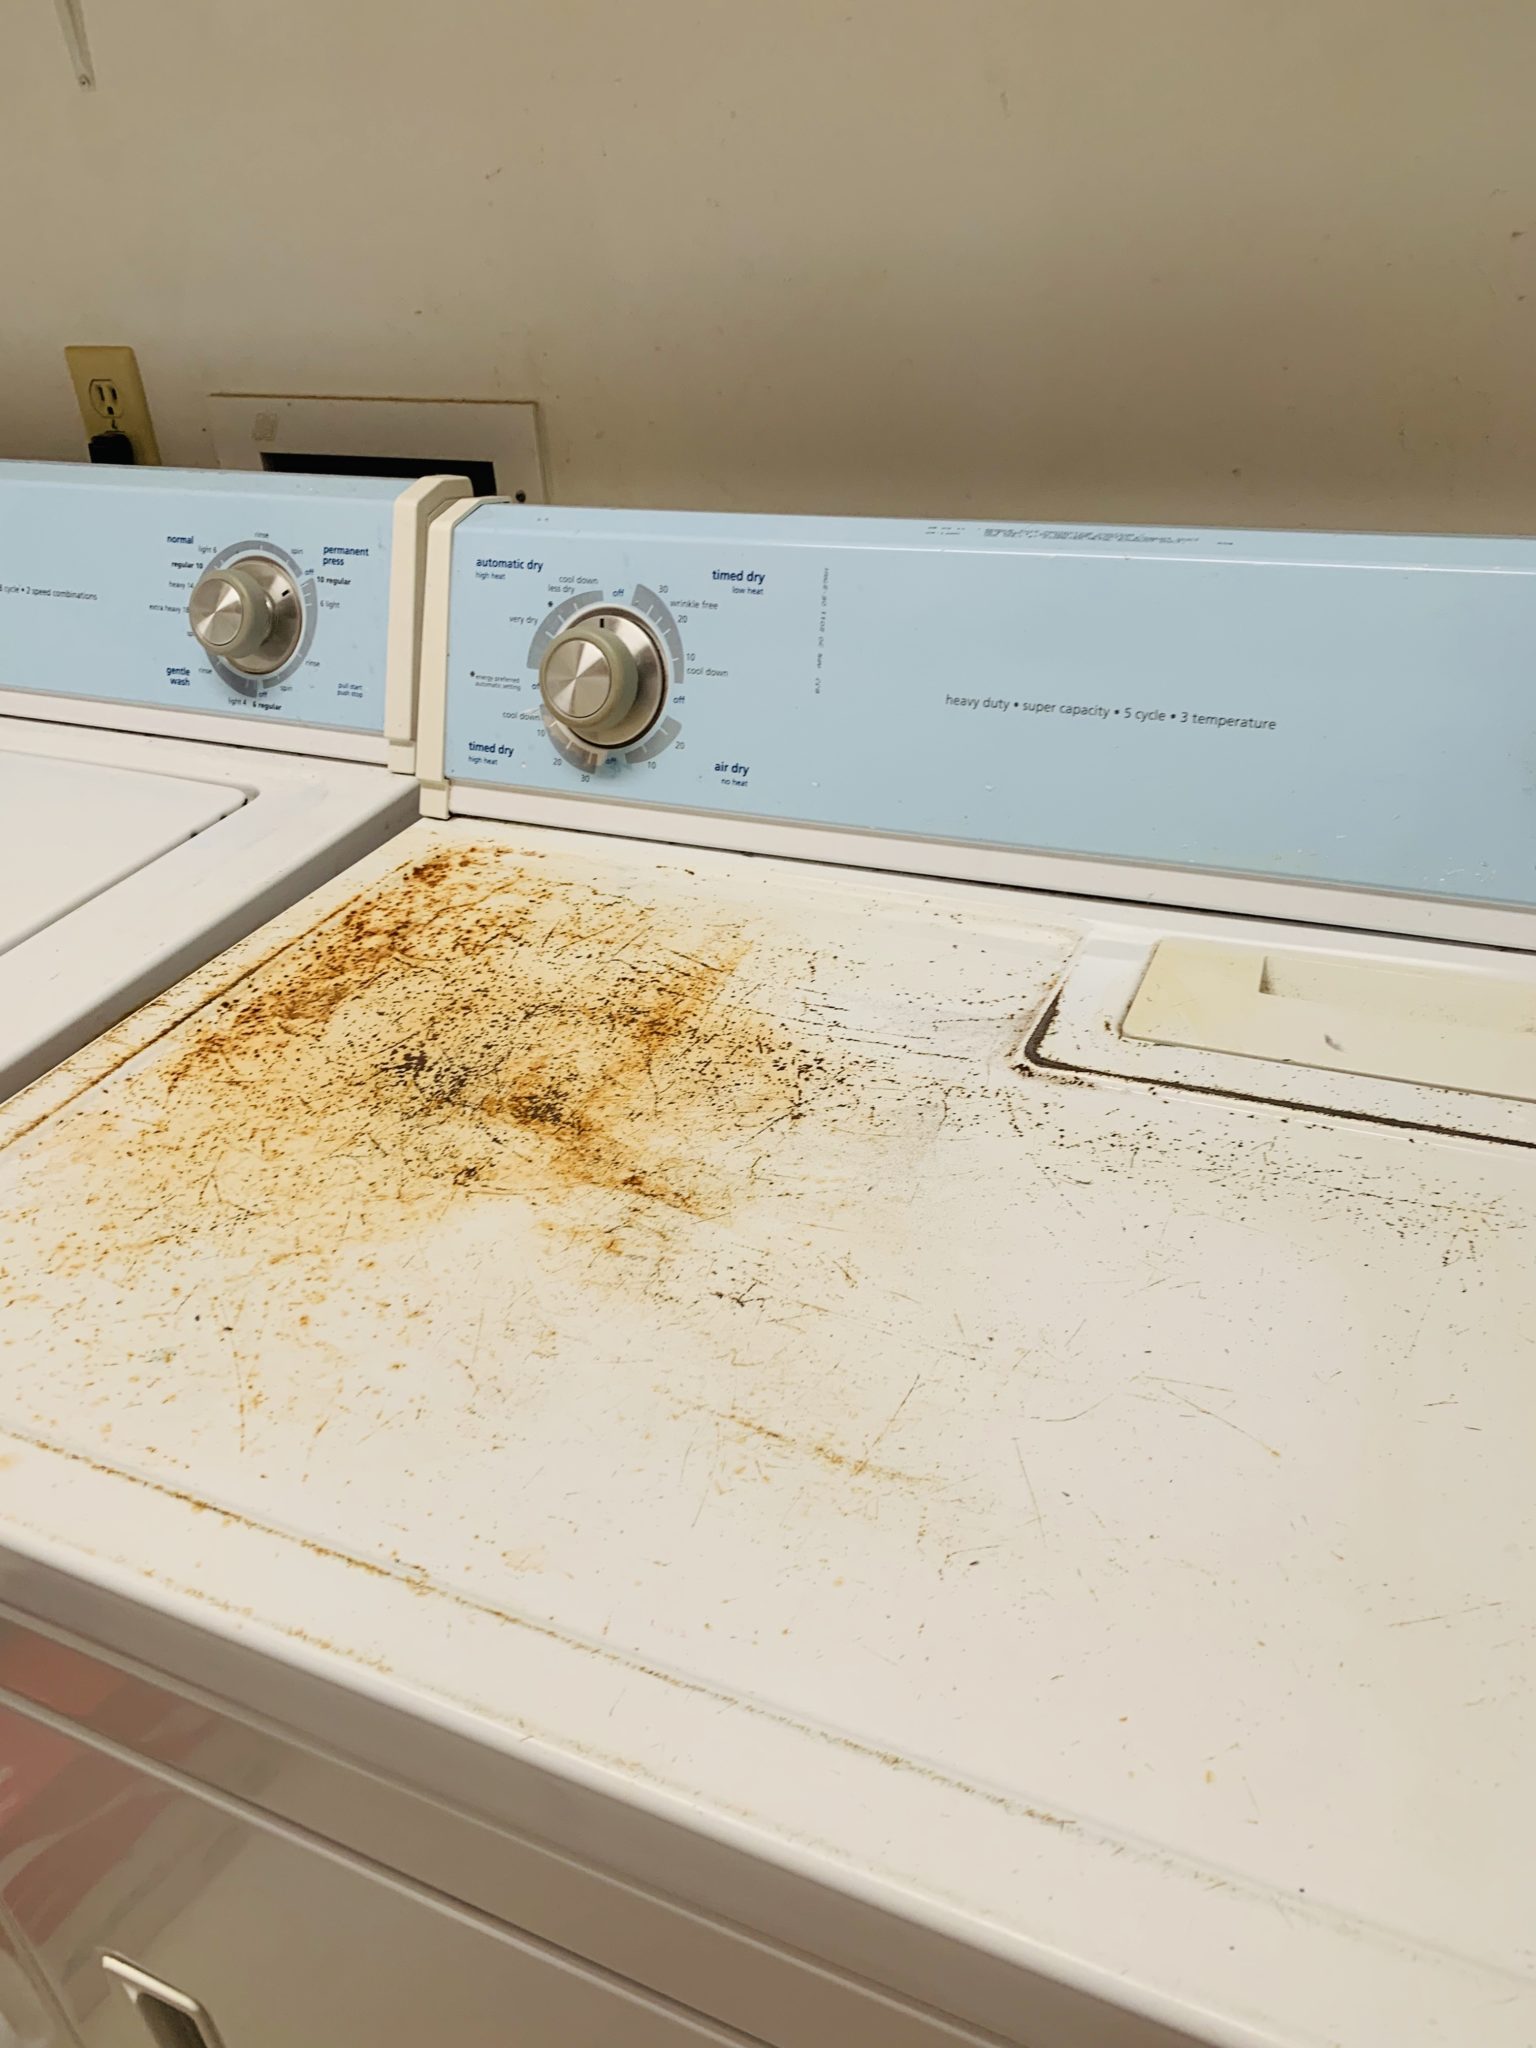
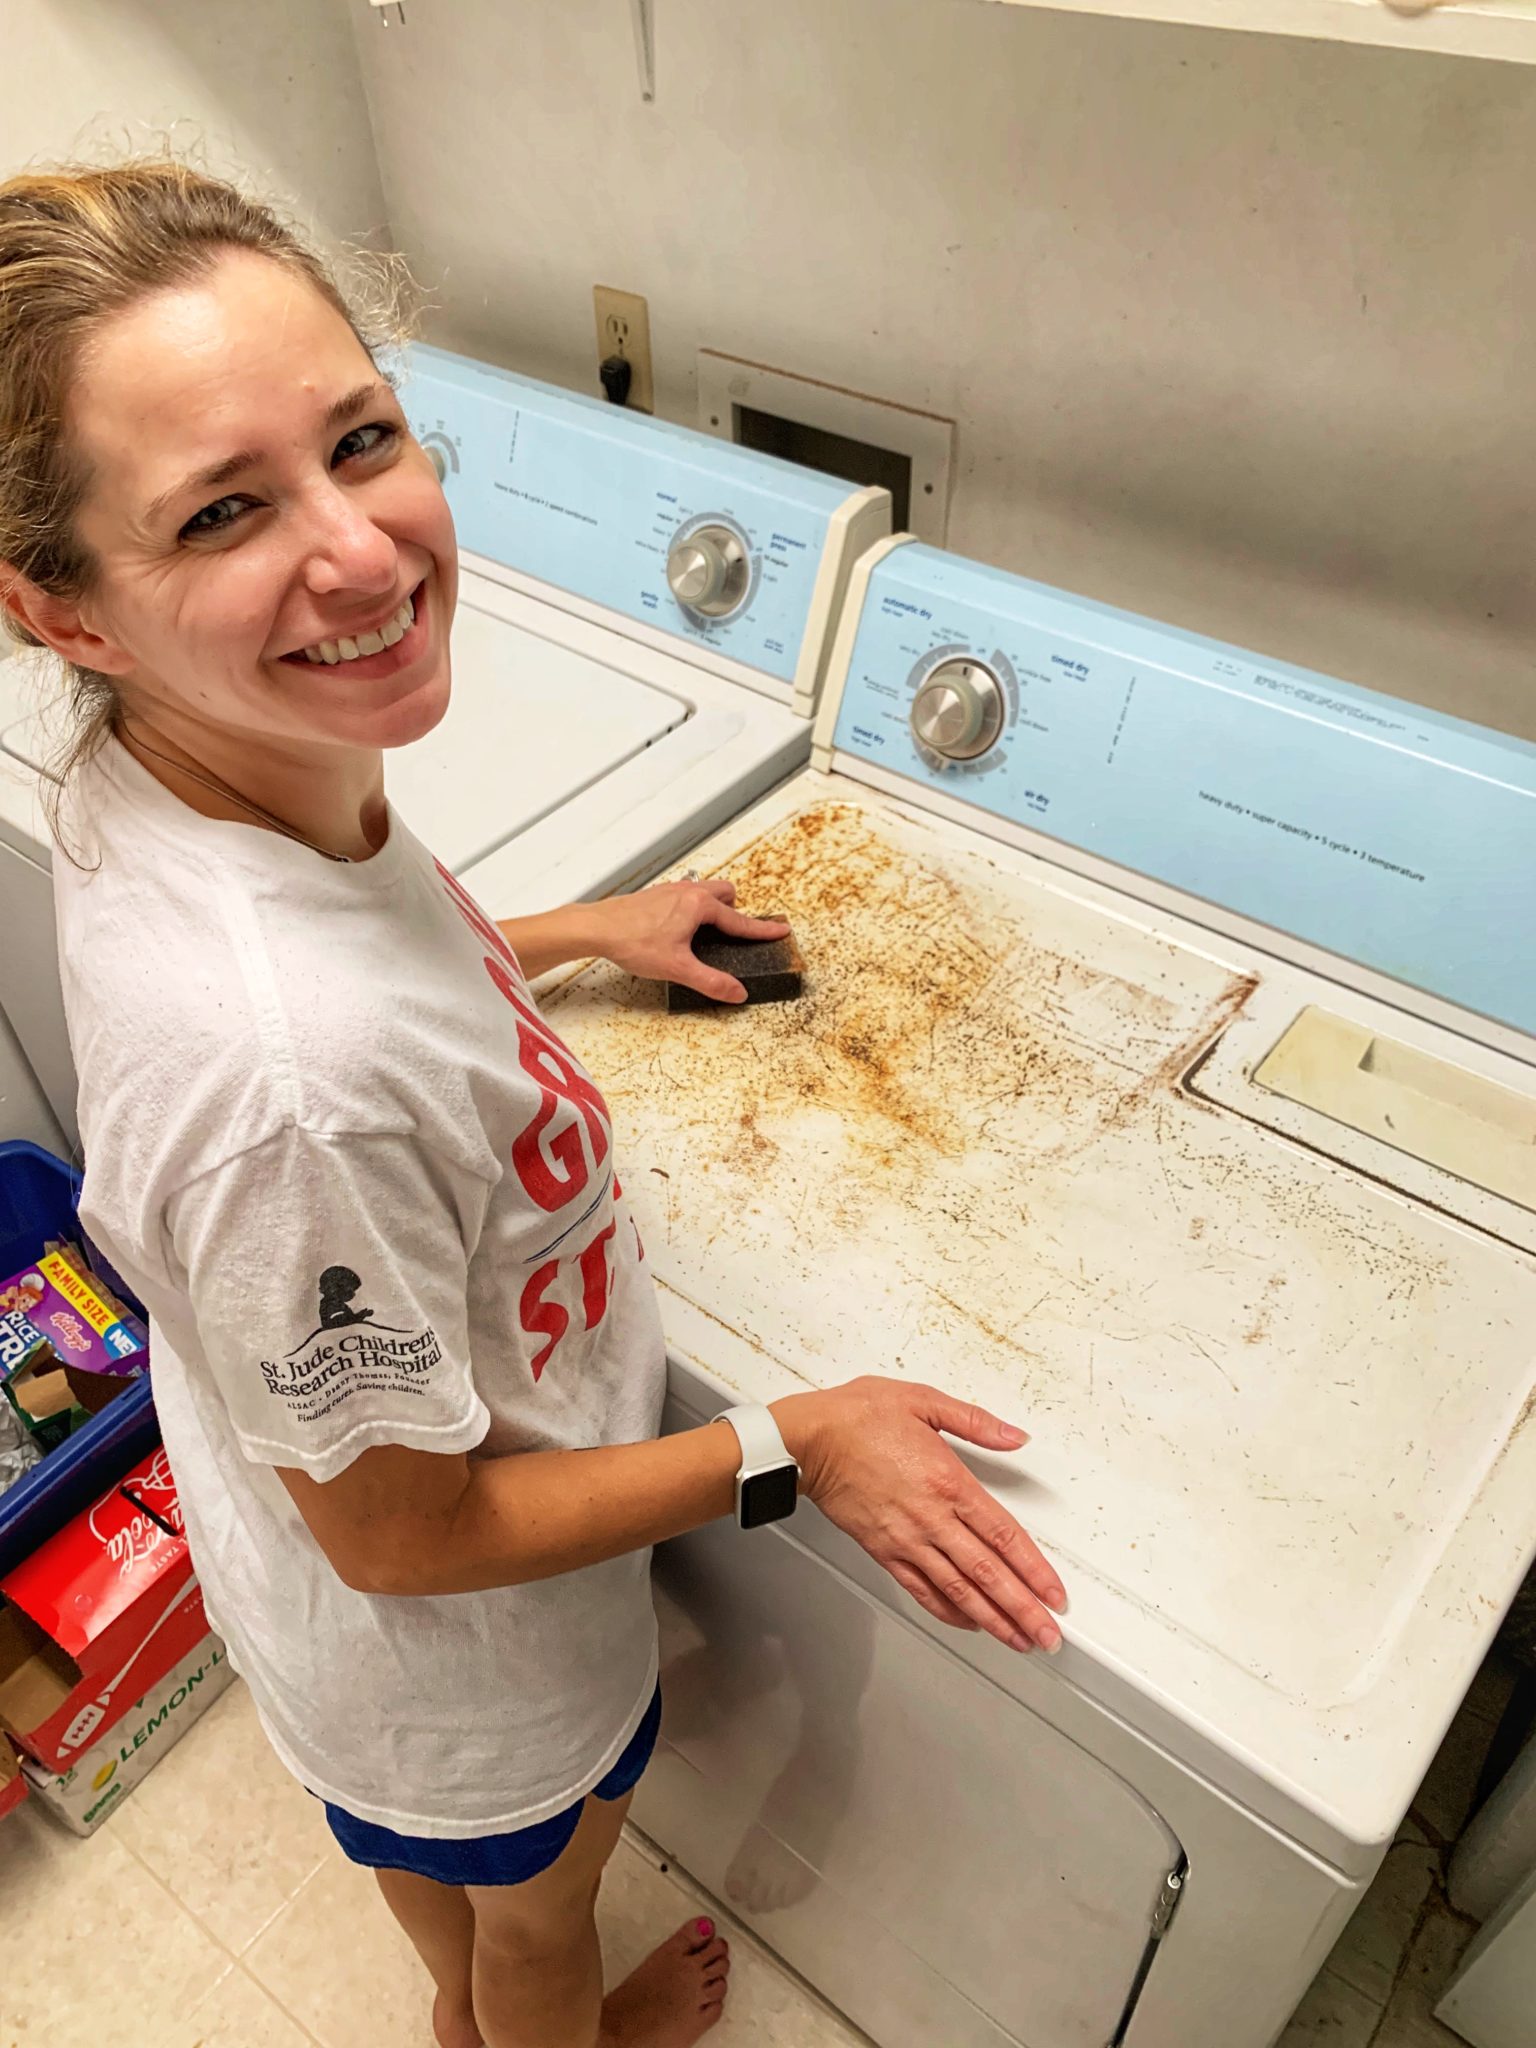
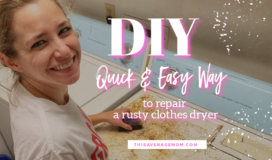
If you’ve had your white clothes dryer for any length of time, you likely have some rust and scrapes on the top of it. Ours had been a mess for YEARS, and it always bothered me. After accomplishing our latest DIY though, I feel so silly for letting the rust annoy me for so long. Because you guys…THIS WAS THE EASIEST PROJECT EVER.
Seriously. We are not DIY-savvy, and our dryer now looks amazing!
TIME: 20 minutes
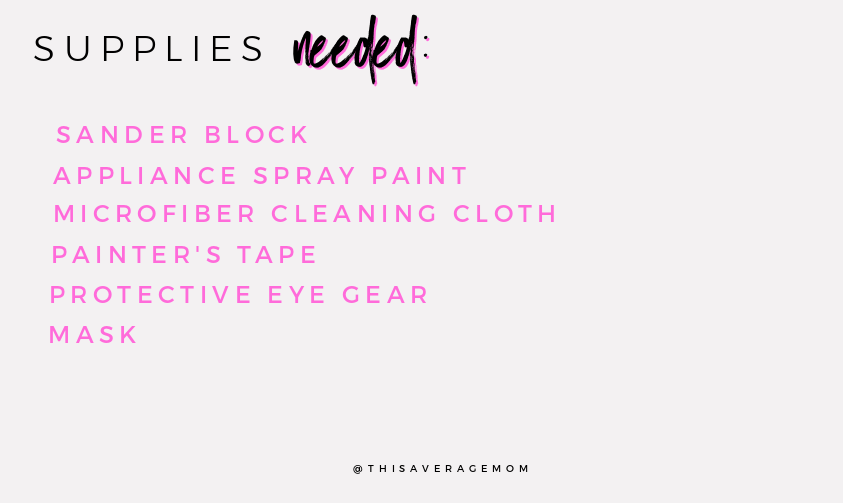
BEST PRACTICE (that we didn’t practice!): take your dryer outside so you don’t asphyxiate yourself!!
HOW TO:
1.Sand your dryer.
Take your sander block and sand the rusty/scraped areas until smooth.
2.Wipe dryer clean.
Using your microfiber cloth, make sure to clean the area to be painted well. Don’t leave any particles behind!! You don’t want to have little bumps all over your new white dryer top.
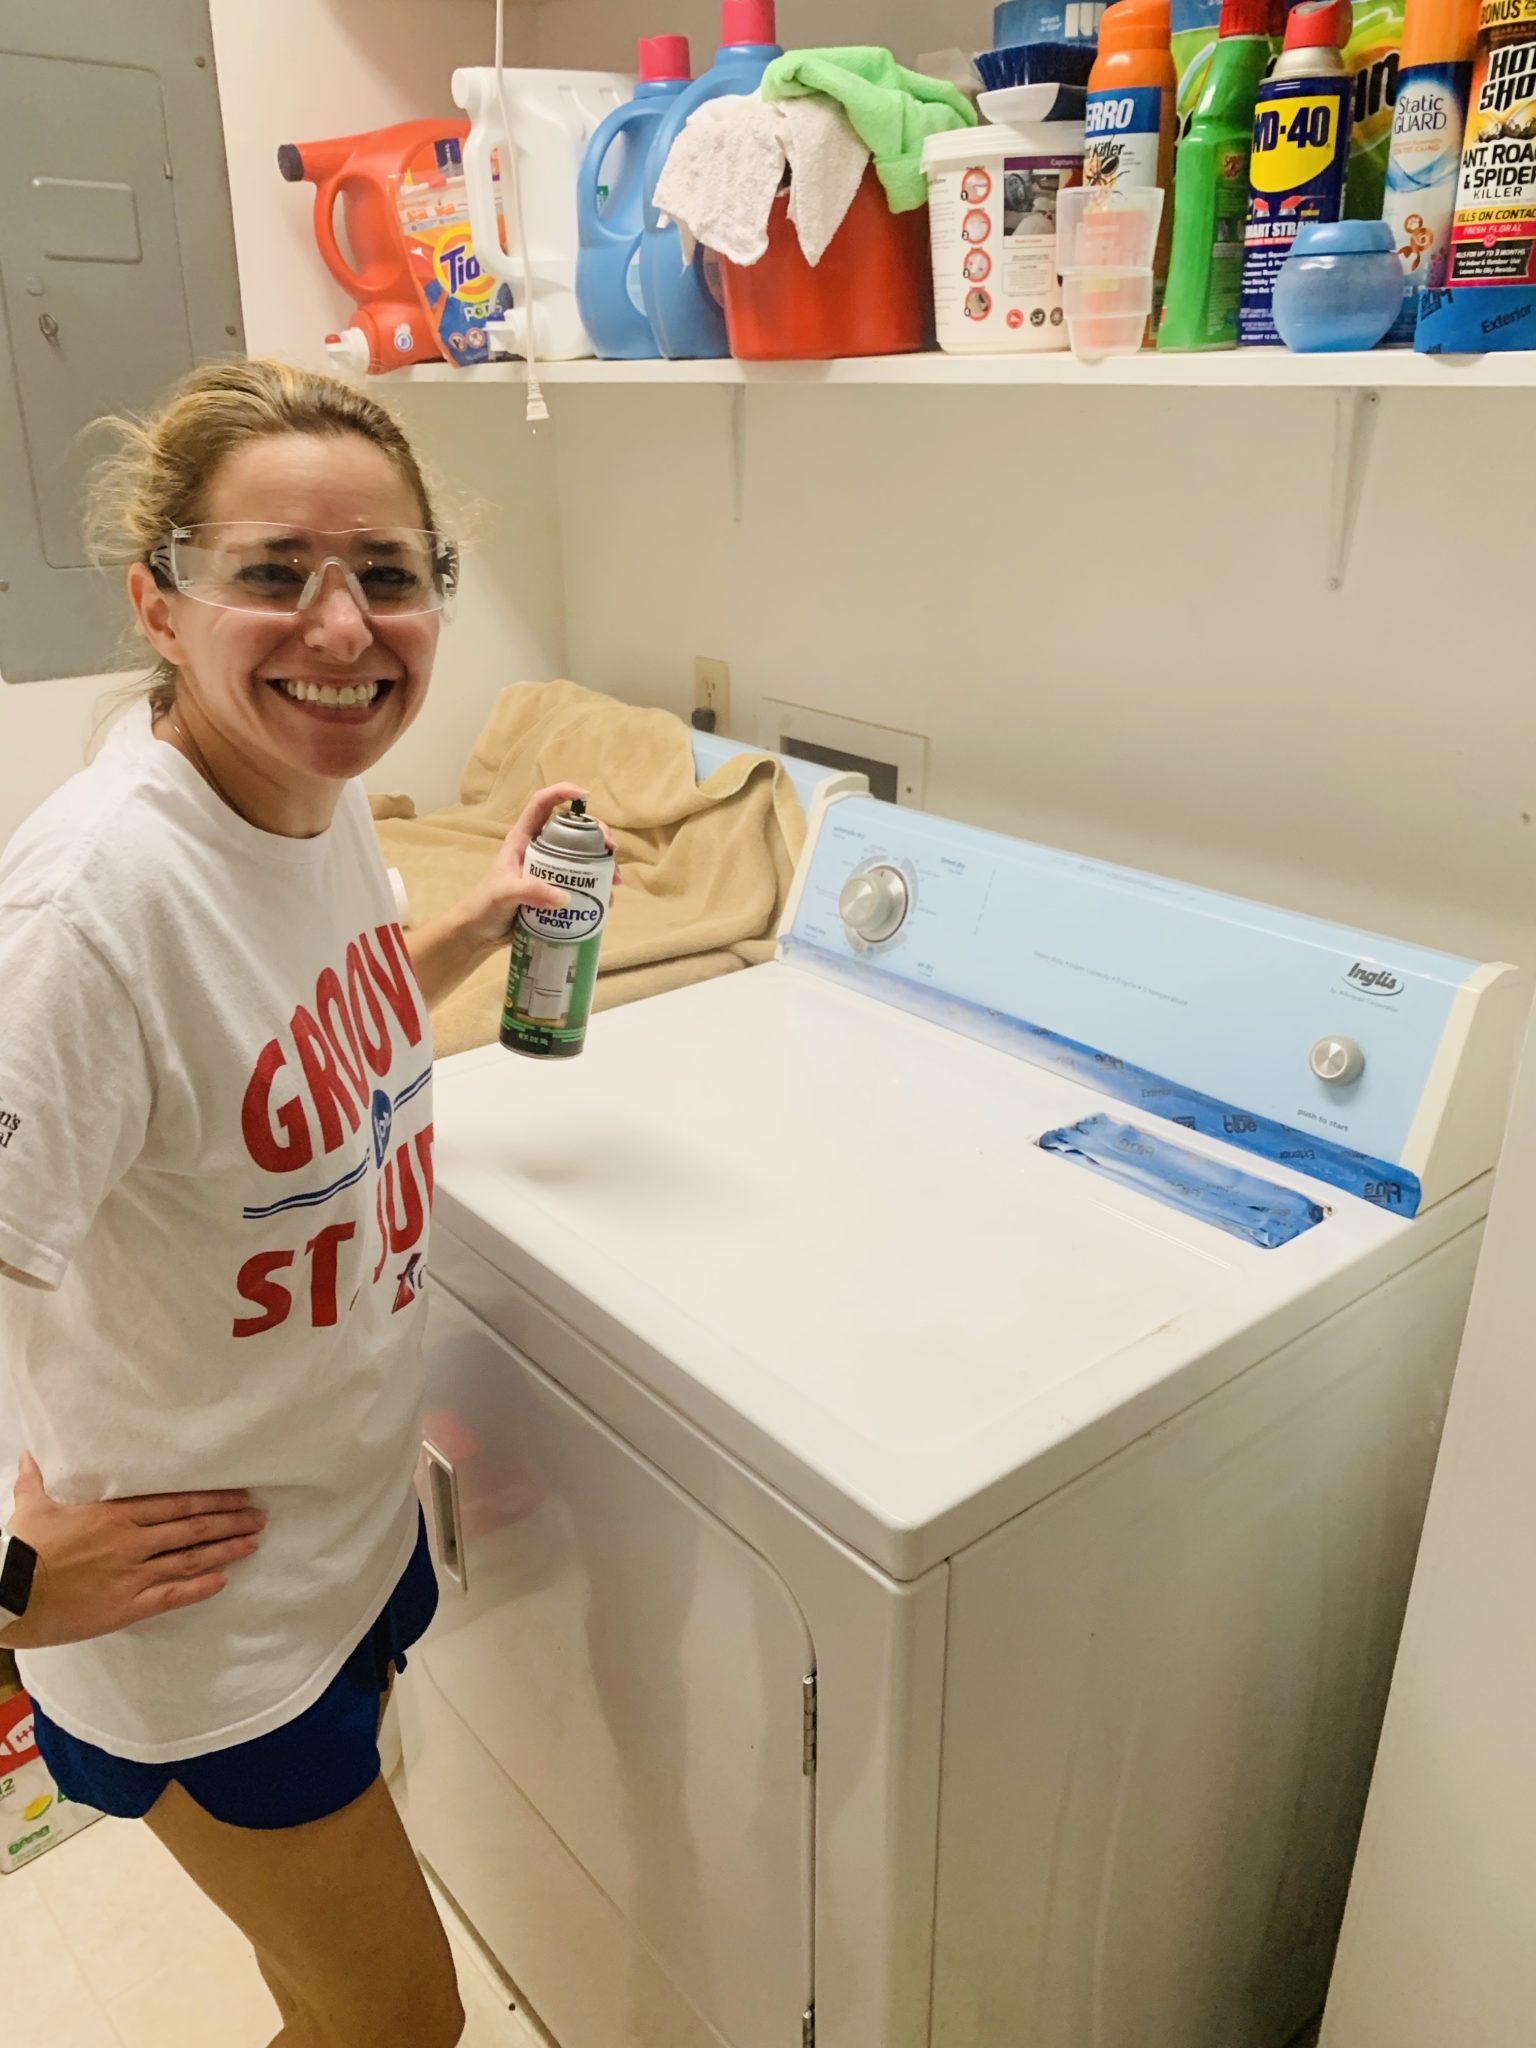
3.Tape off vent/areas you don’t want to paint.
Using your painter’s tape, tape the vent opening and where the control panel meets the top.
4.Throw on your protective gear.
Glasses and mask will help so much. Sadly, we didn’t have masks, so we grabbed a box fan. It kind of helped.
5.Spray paint.
Spray the top of your dryer til you get a good, white covering. We kind of just went for it…sprayed in spurts, observed it, and sprayed more where we needed to. I’m sure there is probably a rule about how long to let dry between coats, so go ahead and follow whatever the can says. Or go rogue like we did and just spray it on.
6.Paint vent cover.
If the lint/vent cover thing is also in need of a coat of paint (ours was), take a trash bag, tape it around the lint collector part so you don’t paint the screen-looking thing, and take it outside and spray it down.
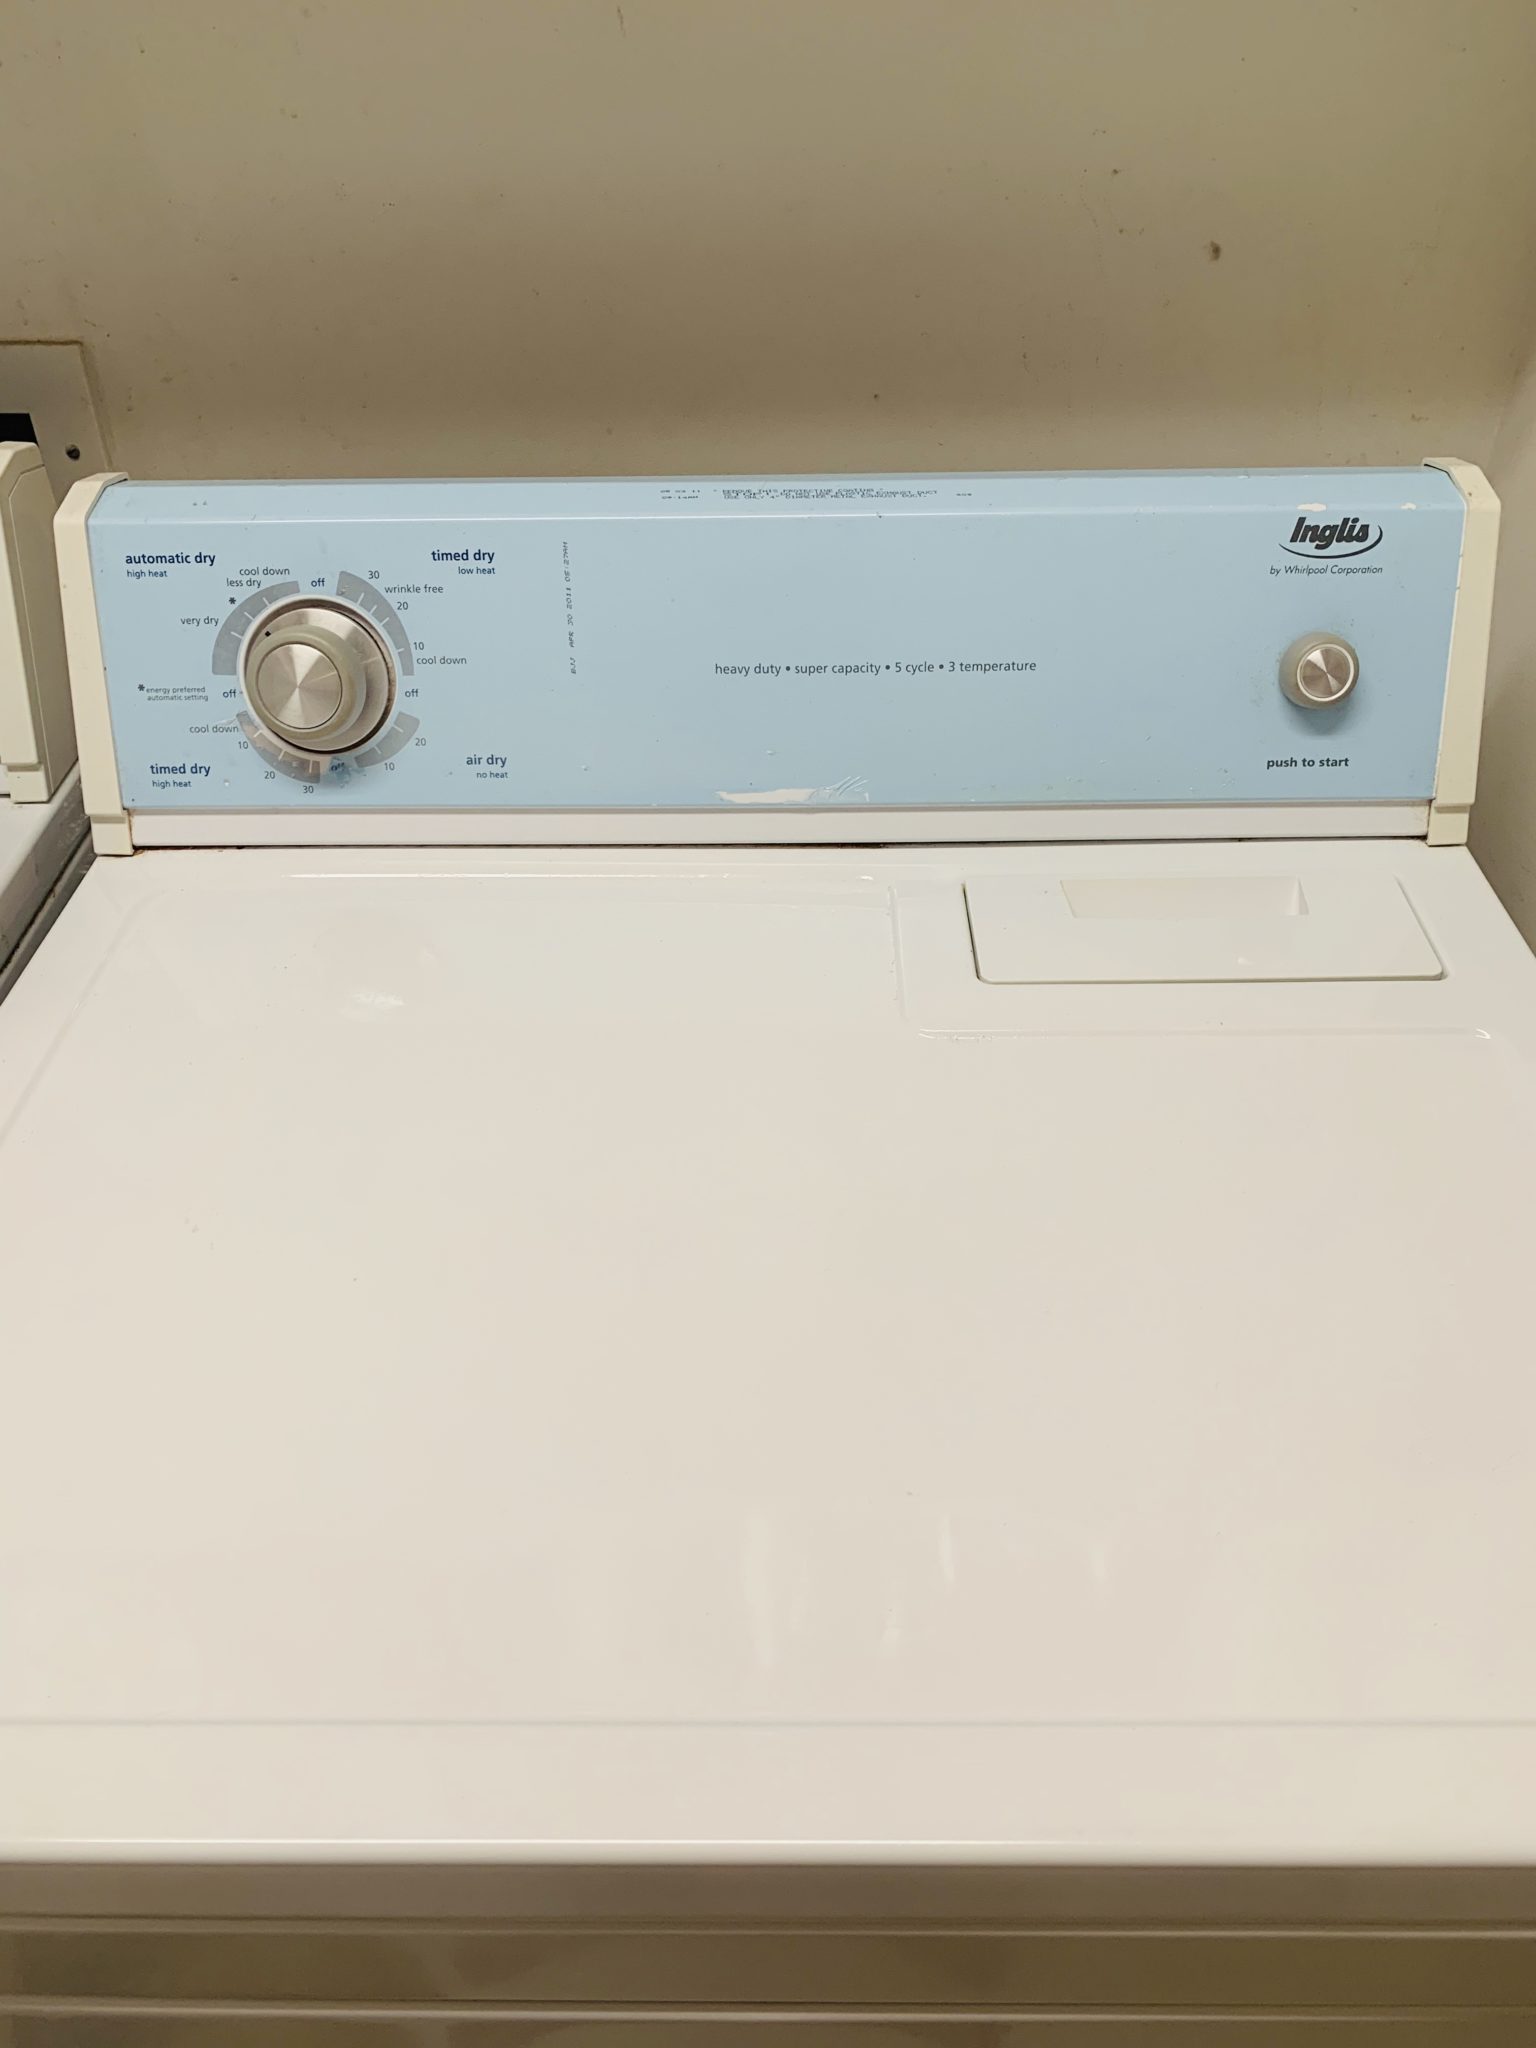
THAT IS IT!!!! Like, so quick and easy! A huge transformation for basically NO work. I’m in love. After the paint starts drying, remove the painter’s tape and let the paint dry overnight.
Also–is it not amazing that the color of the paint exactly matched??? We didn’t think it’d be a great match, but we knew it’d look better than rust does, so we went for it. But it turned out way better than we ever imagined!
Have you ever painted an appliance? How did it go?


Thank you so much for this post! It was so easy and inexpensive! I’m just kicking myself for not doing this sooner! My dryer now looks like new again! I no longer use stain sprays over either the washer or dryer. I am so glad I found your site!!
Awww yay!! So glad it worked for you too! 🙂 🙂
thank you so much! my washer dryer look perfect. i’m so pleased!! wish i could send you pictures.
Yay! Send me the pics! thisaveragemom@gmail.com
What paint did you use? Did you use the Rust spray before sanding?
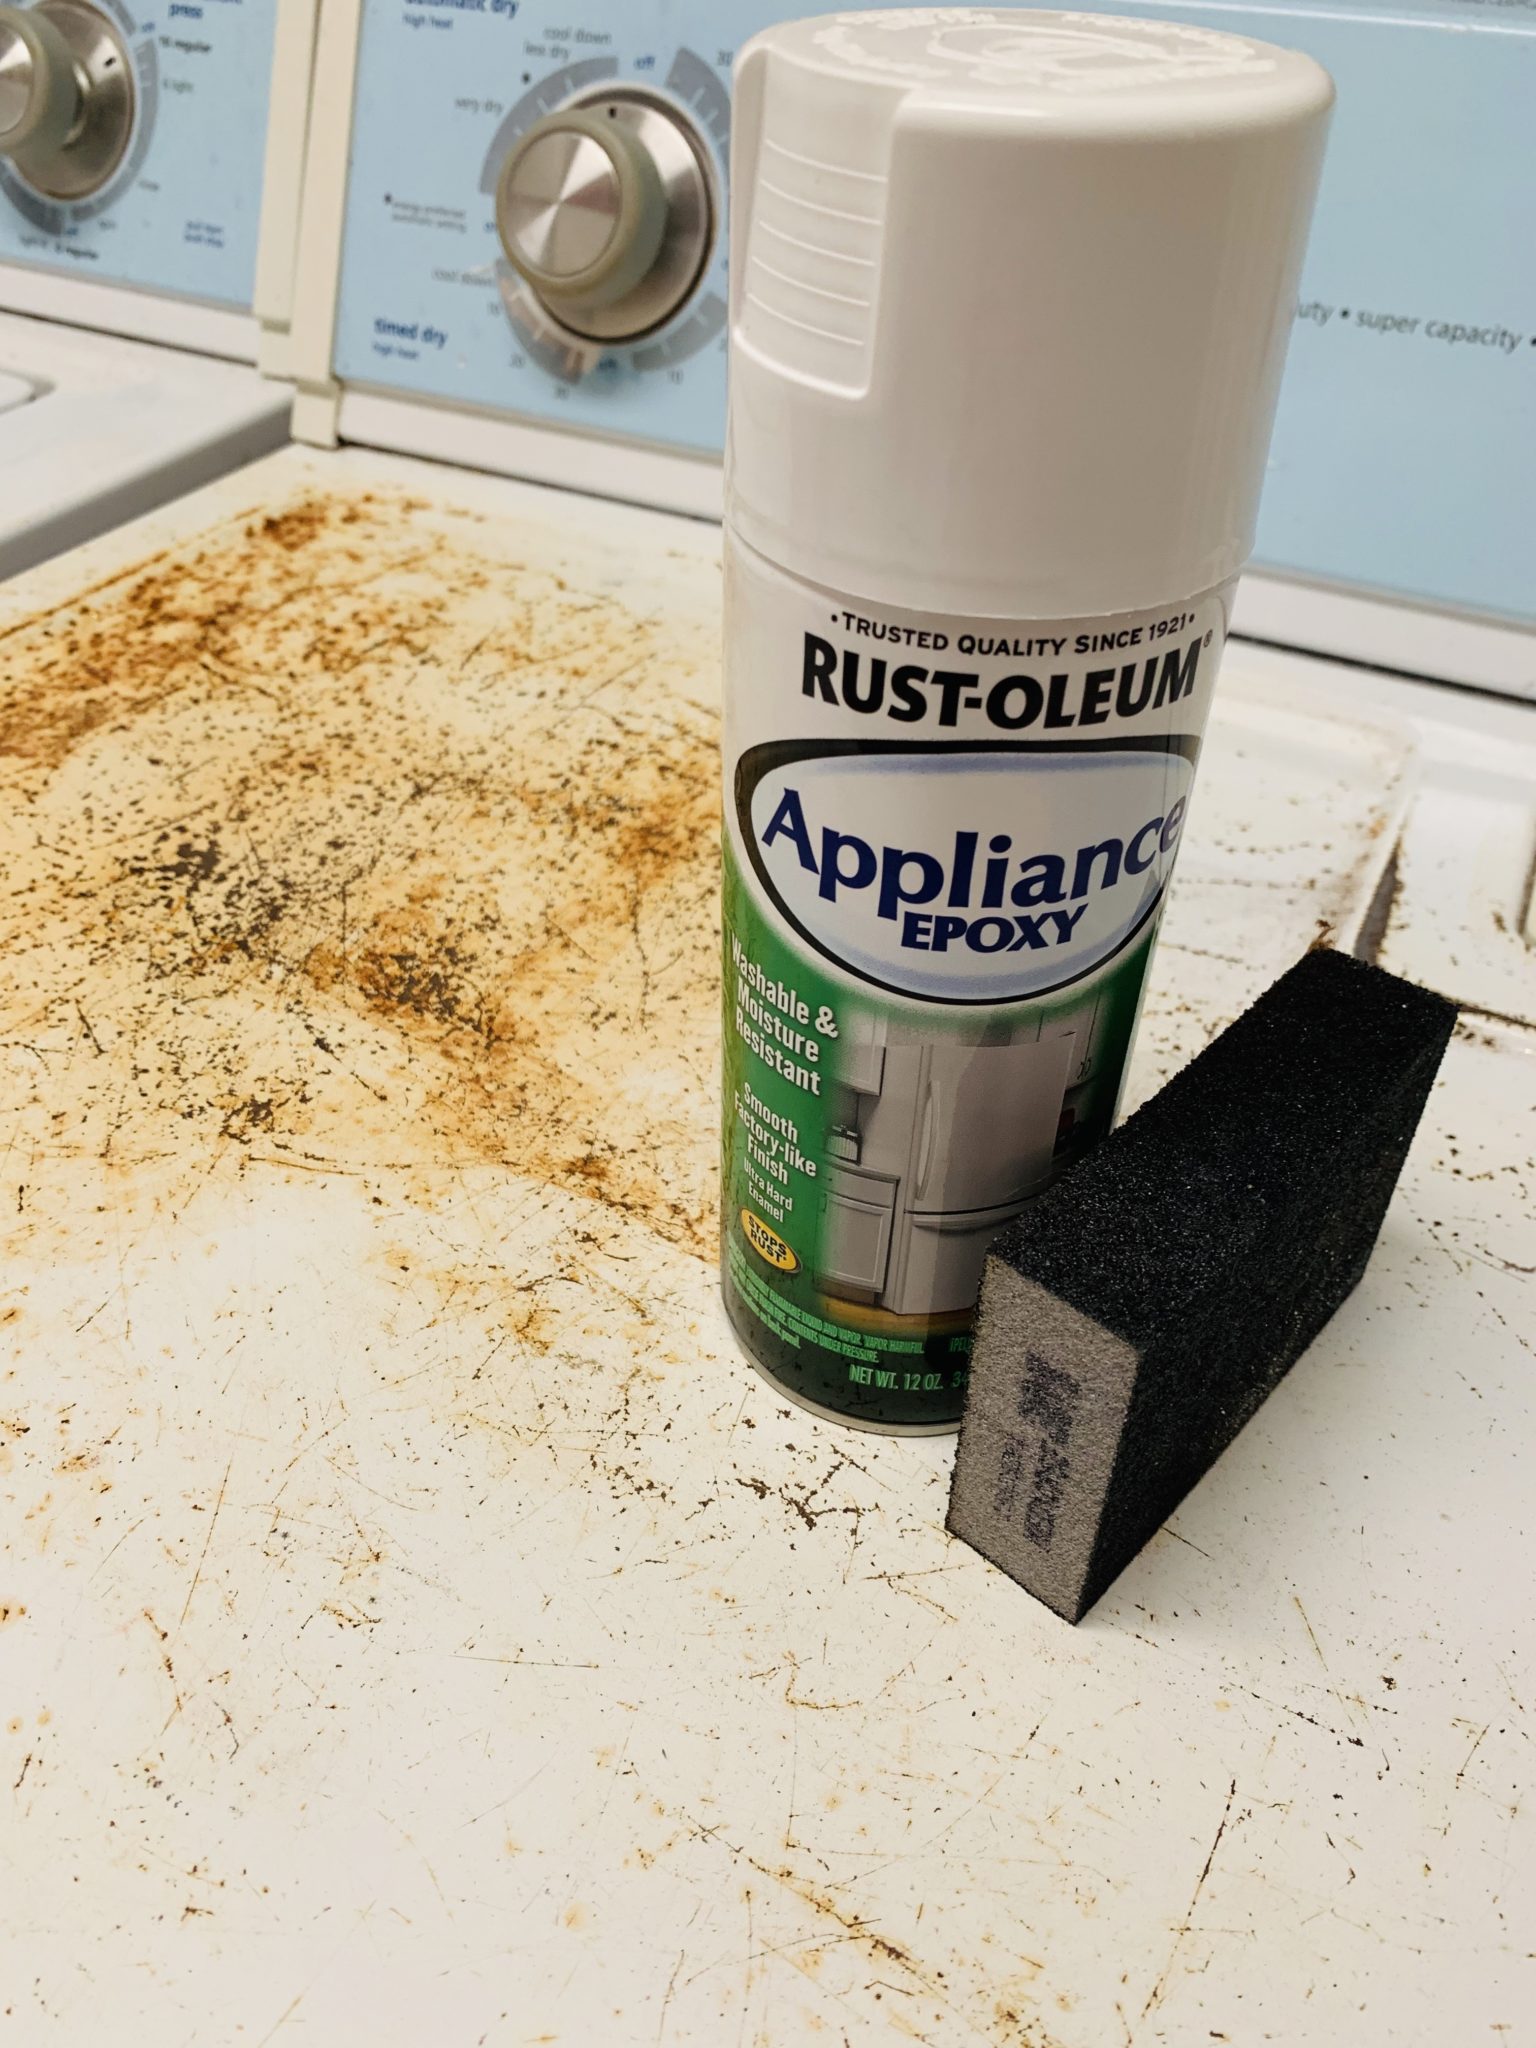
I used Rust-Oleum Appliance Epoxy (white). There is a picture of it in the post if you want to see the exact spray can! All I did was sand, wipe clean and then use the spray paint to repair the color from rust to white. 🙂
Thank you! yours looks so perfect. This is exactly the info I was looking for
I’m so glad!!