
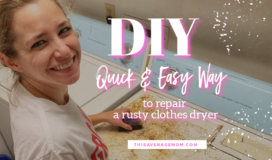
If your house is older like mine, you might be looking up at popcorn ceiling on the regular. But what if I told you that removing popcorn ceiling yourself is possible? Well, it totally is. You do not have to hire a professional to take down popcorn ceiling.
First of all, I feel like I need some sort of asbestos disclaimer here. I don’t actually know how all that plays out and what the rules are, but it goes something like this: if you have an older home, asbestos could be a problem, and I think you need to ensure you don’t have it before you go messing with paint?? Again, I just hear about this stuff on HGTV, so you know…be careful.
Anyway, we don’t have asbestos so our children’s health is not at risk in this project.
Back to popcorn ceiling removal.

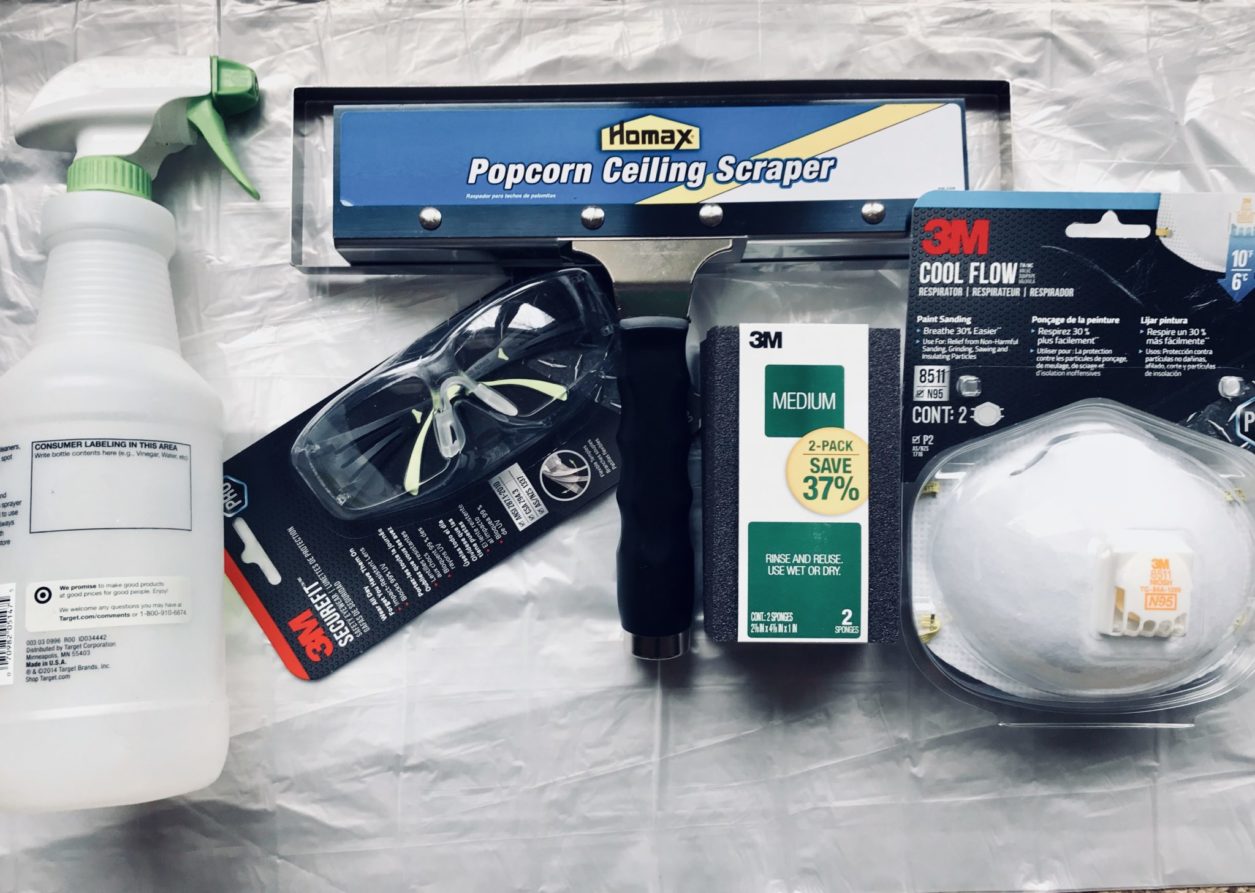
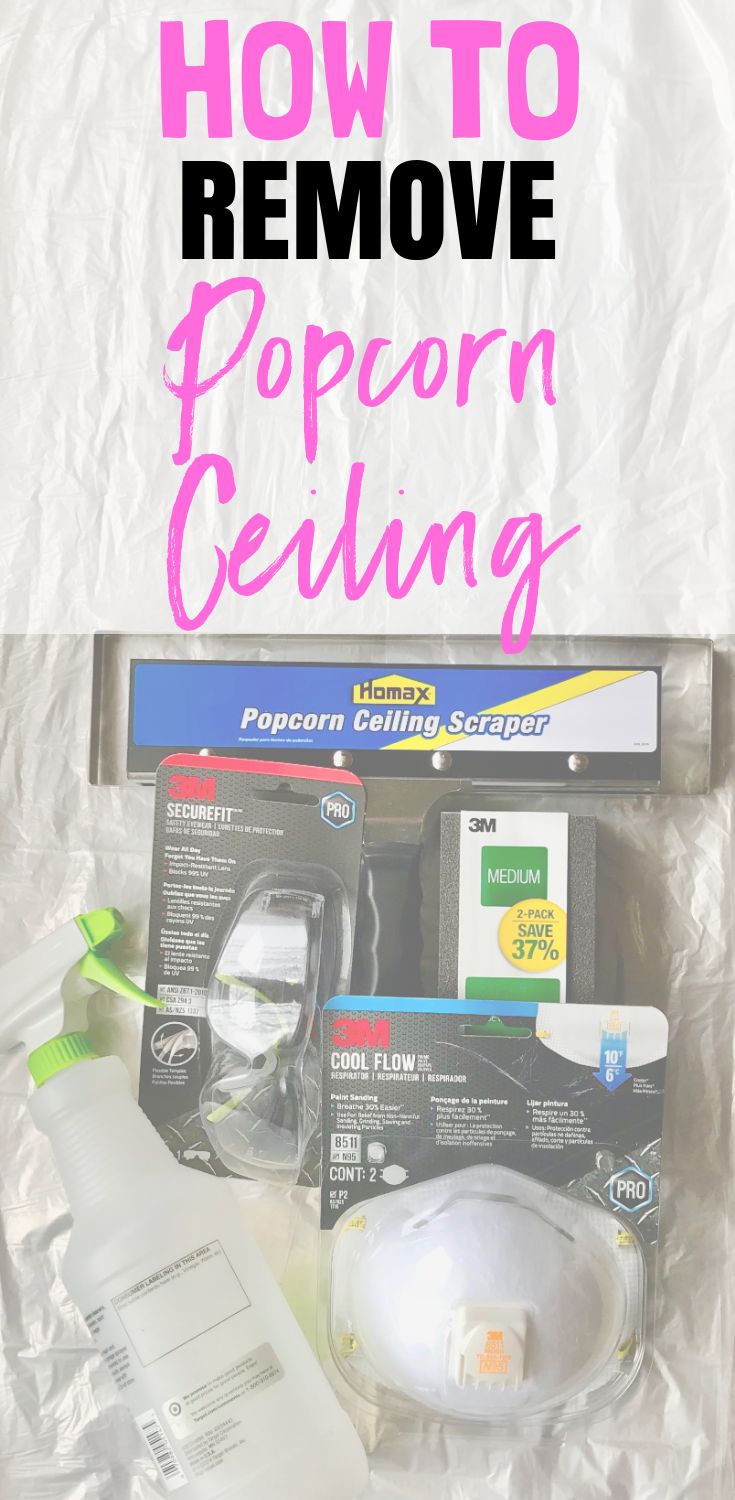
*Don’t buy the “popcorn ceiling scraper” like we did! That was a failed experiment!! It gouged our ceiling. Buy a regular paint scraper and stand on a ladder instead!
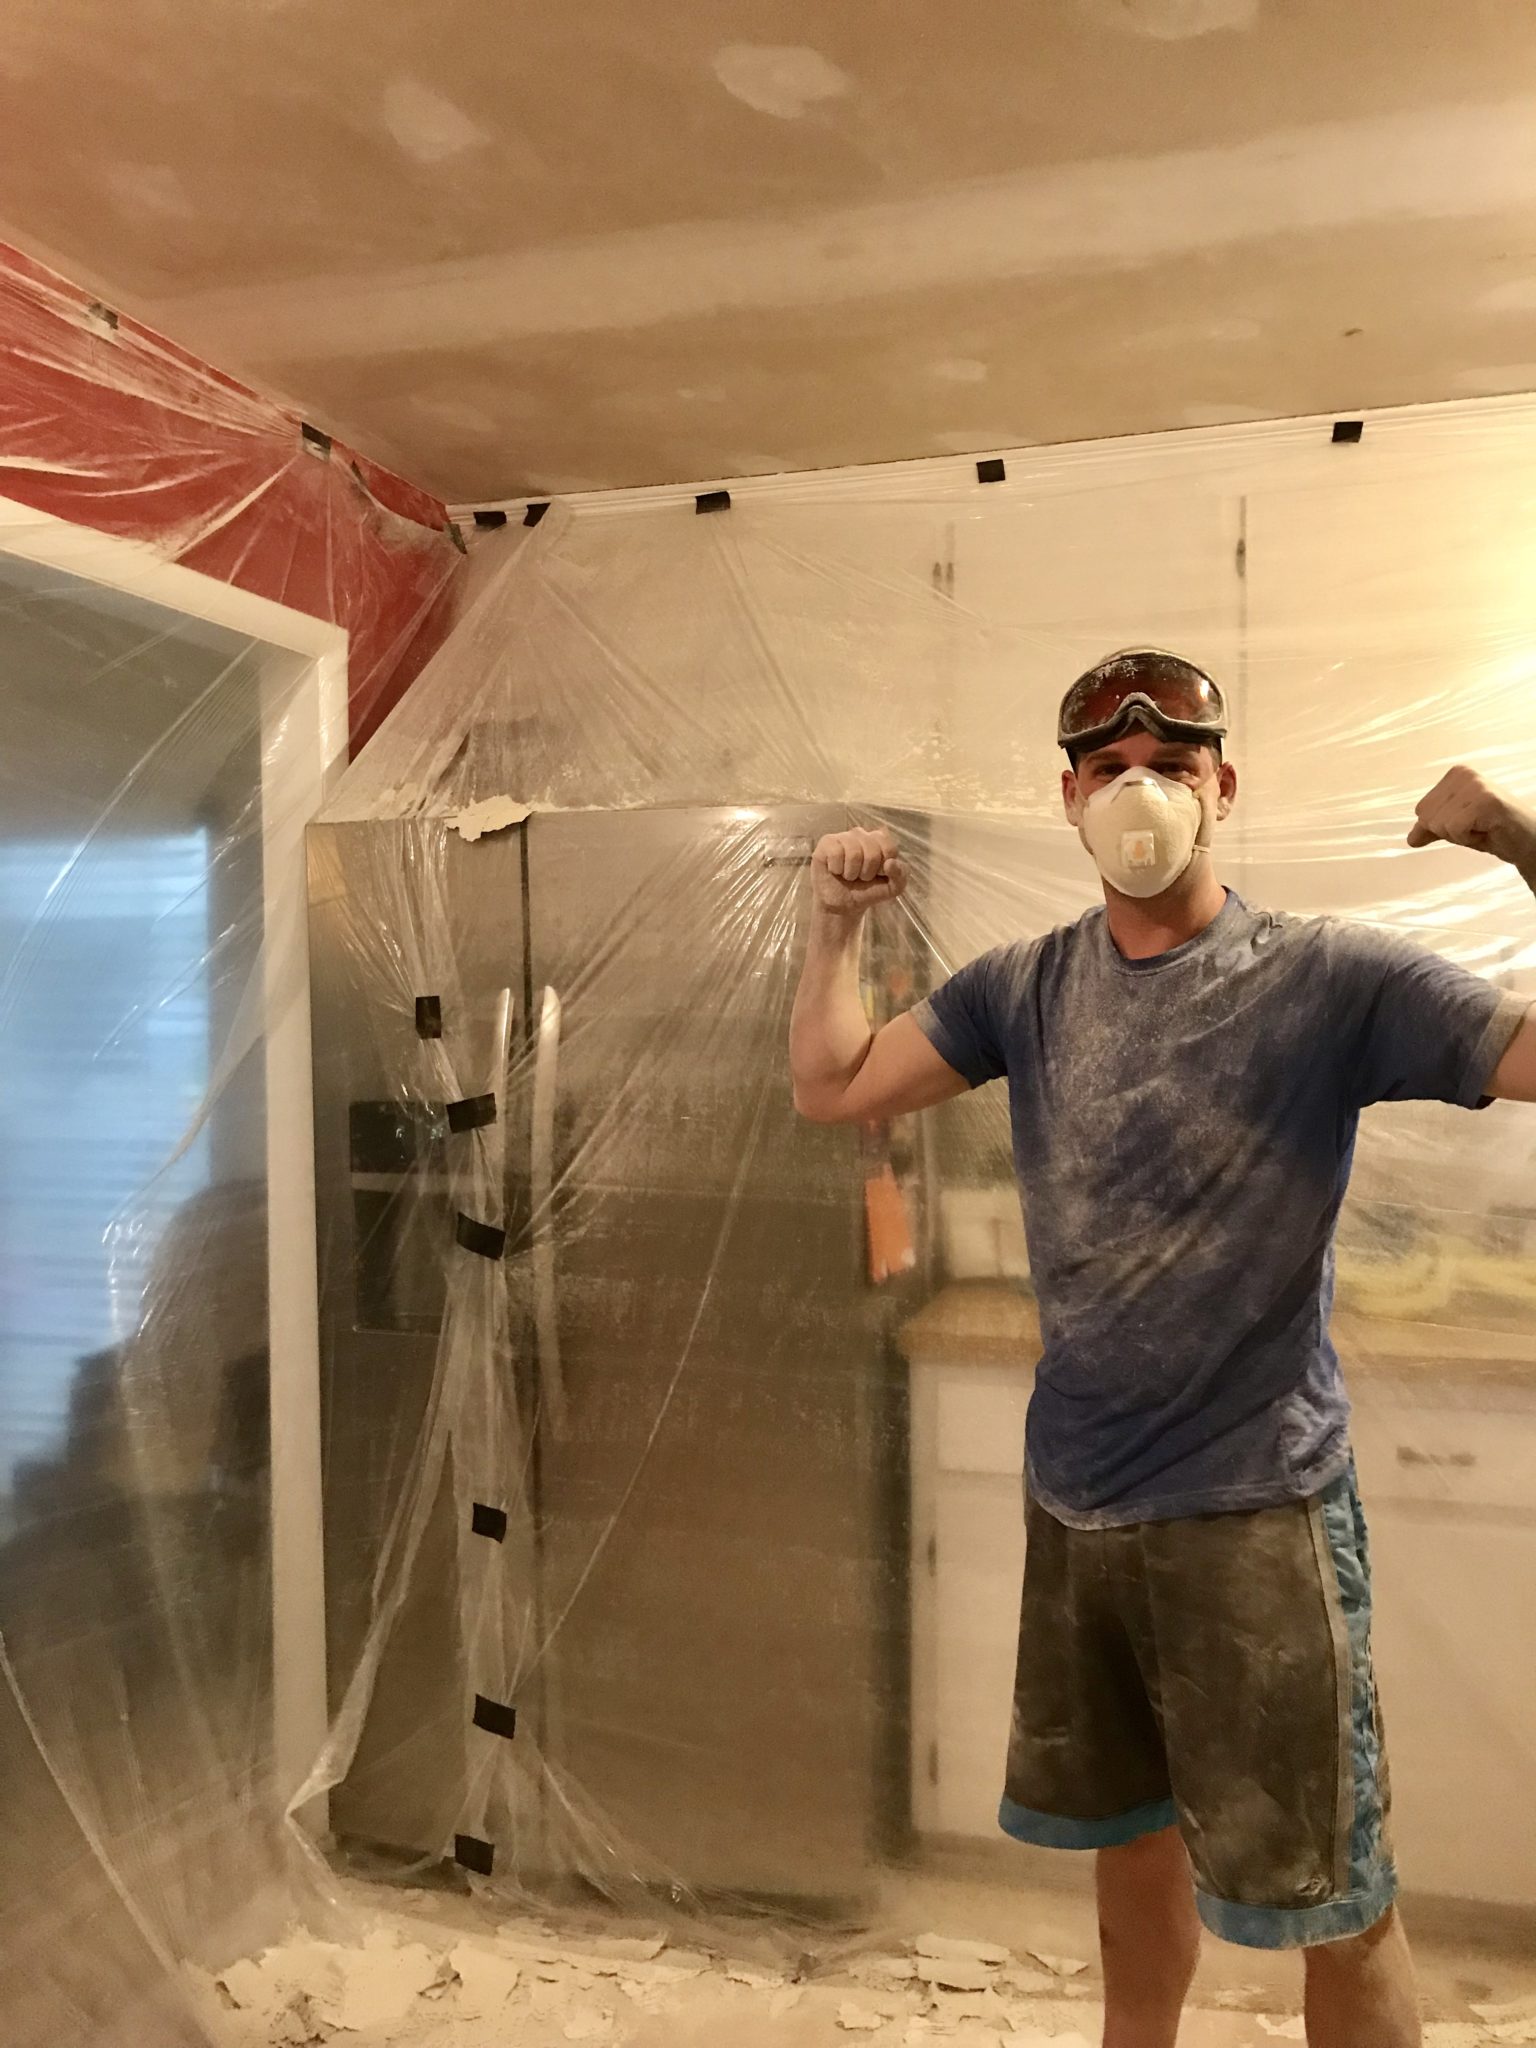
The most important thing to know before you start is that it’s not hard, but it is labor intensive. (And in full disclosure, Brandon is the one who has removed all our popcorn ceilings, so i’m just reporting, not speaking from direct experience.) But it did take a long time!
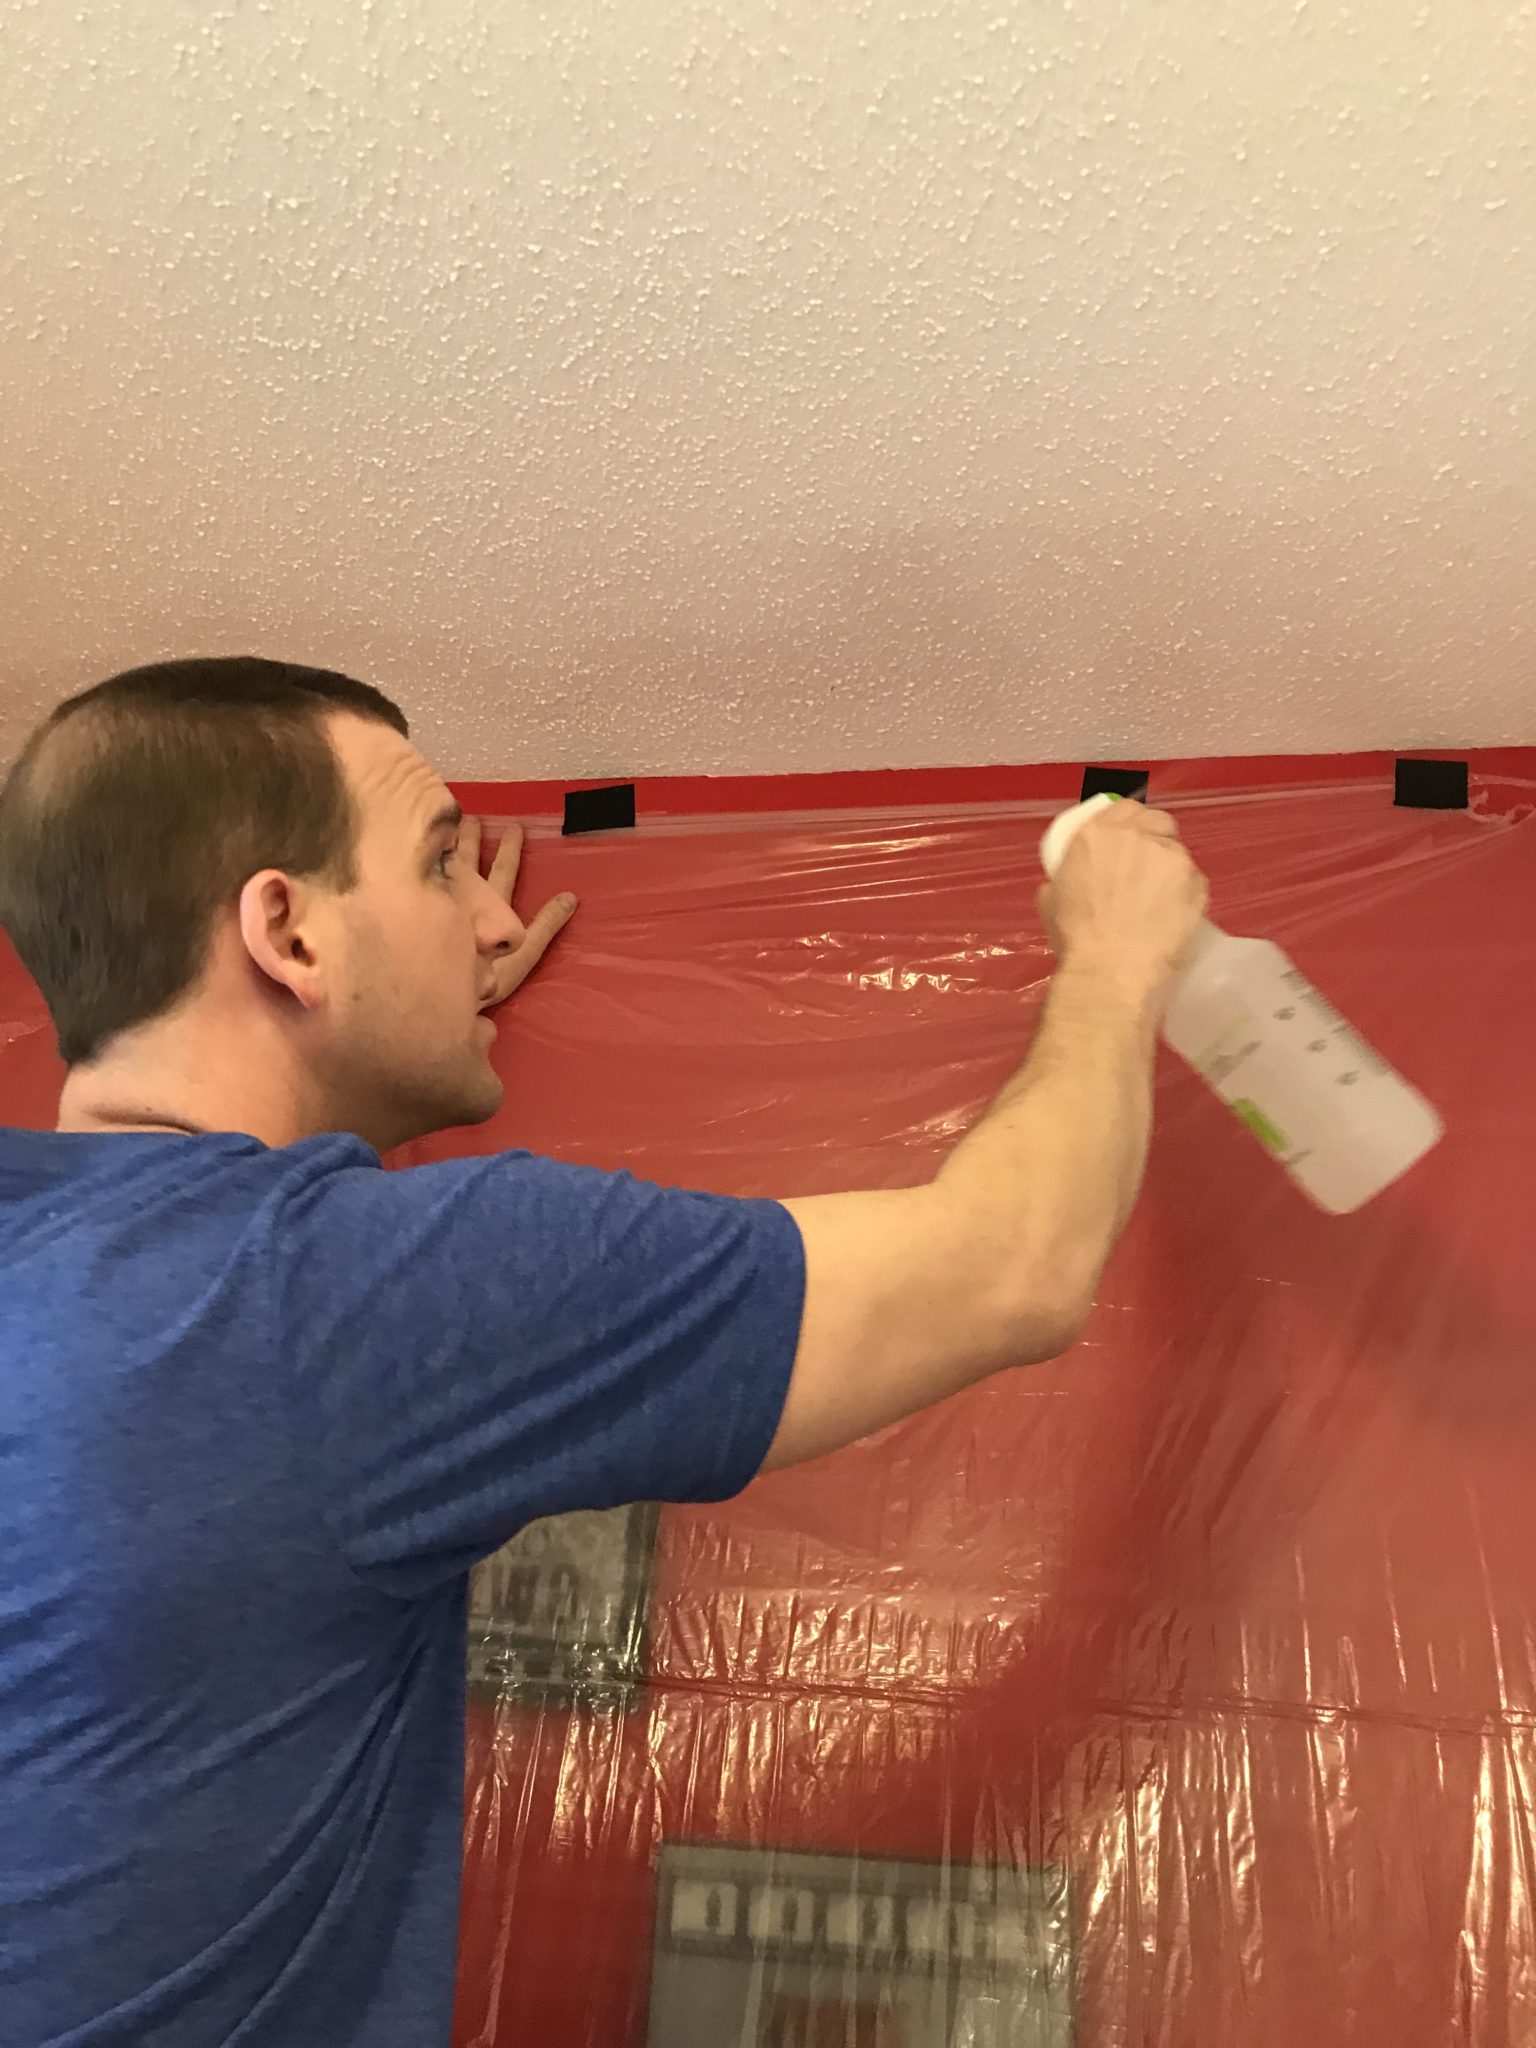
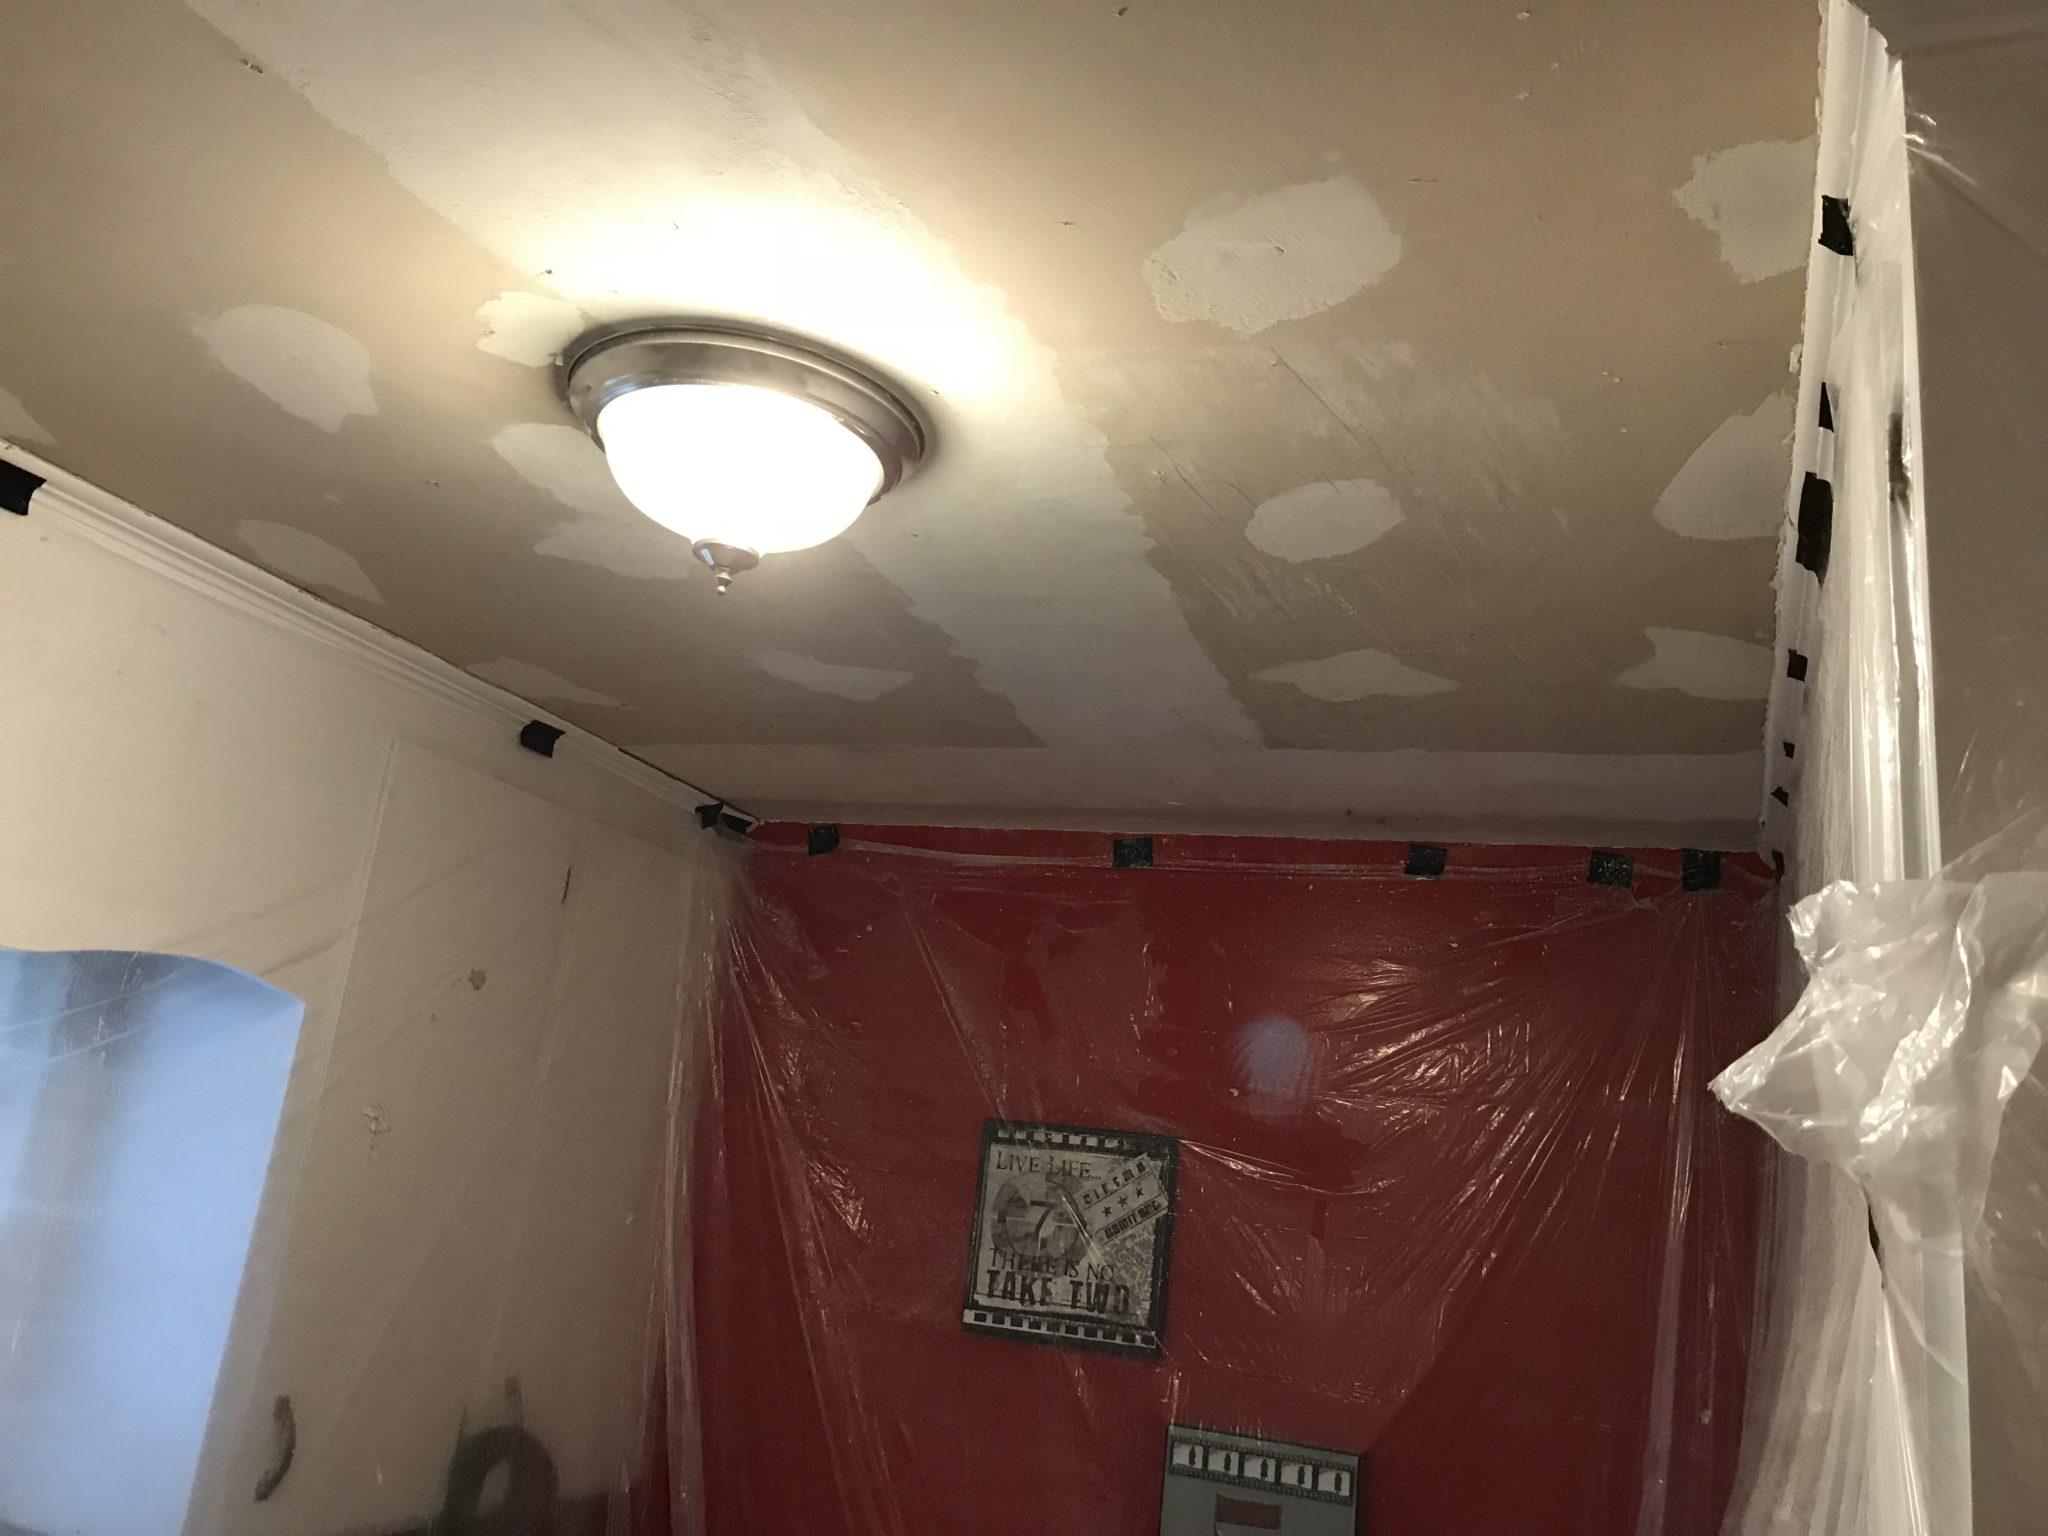
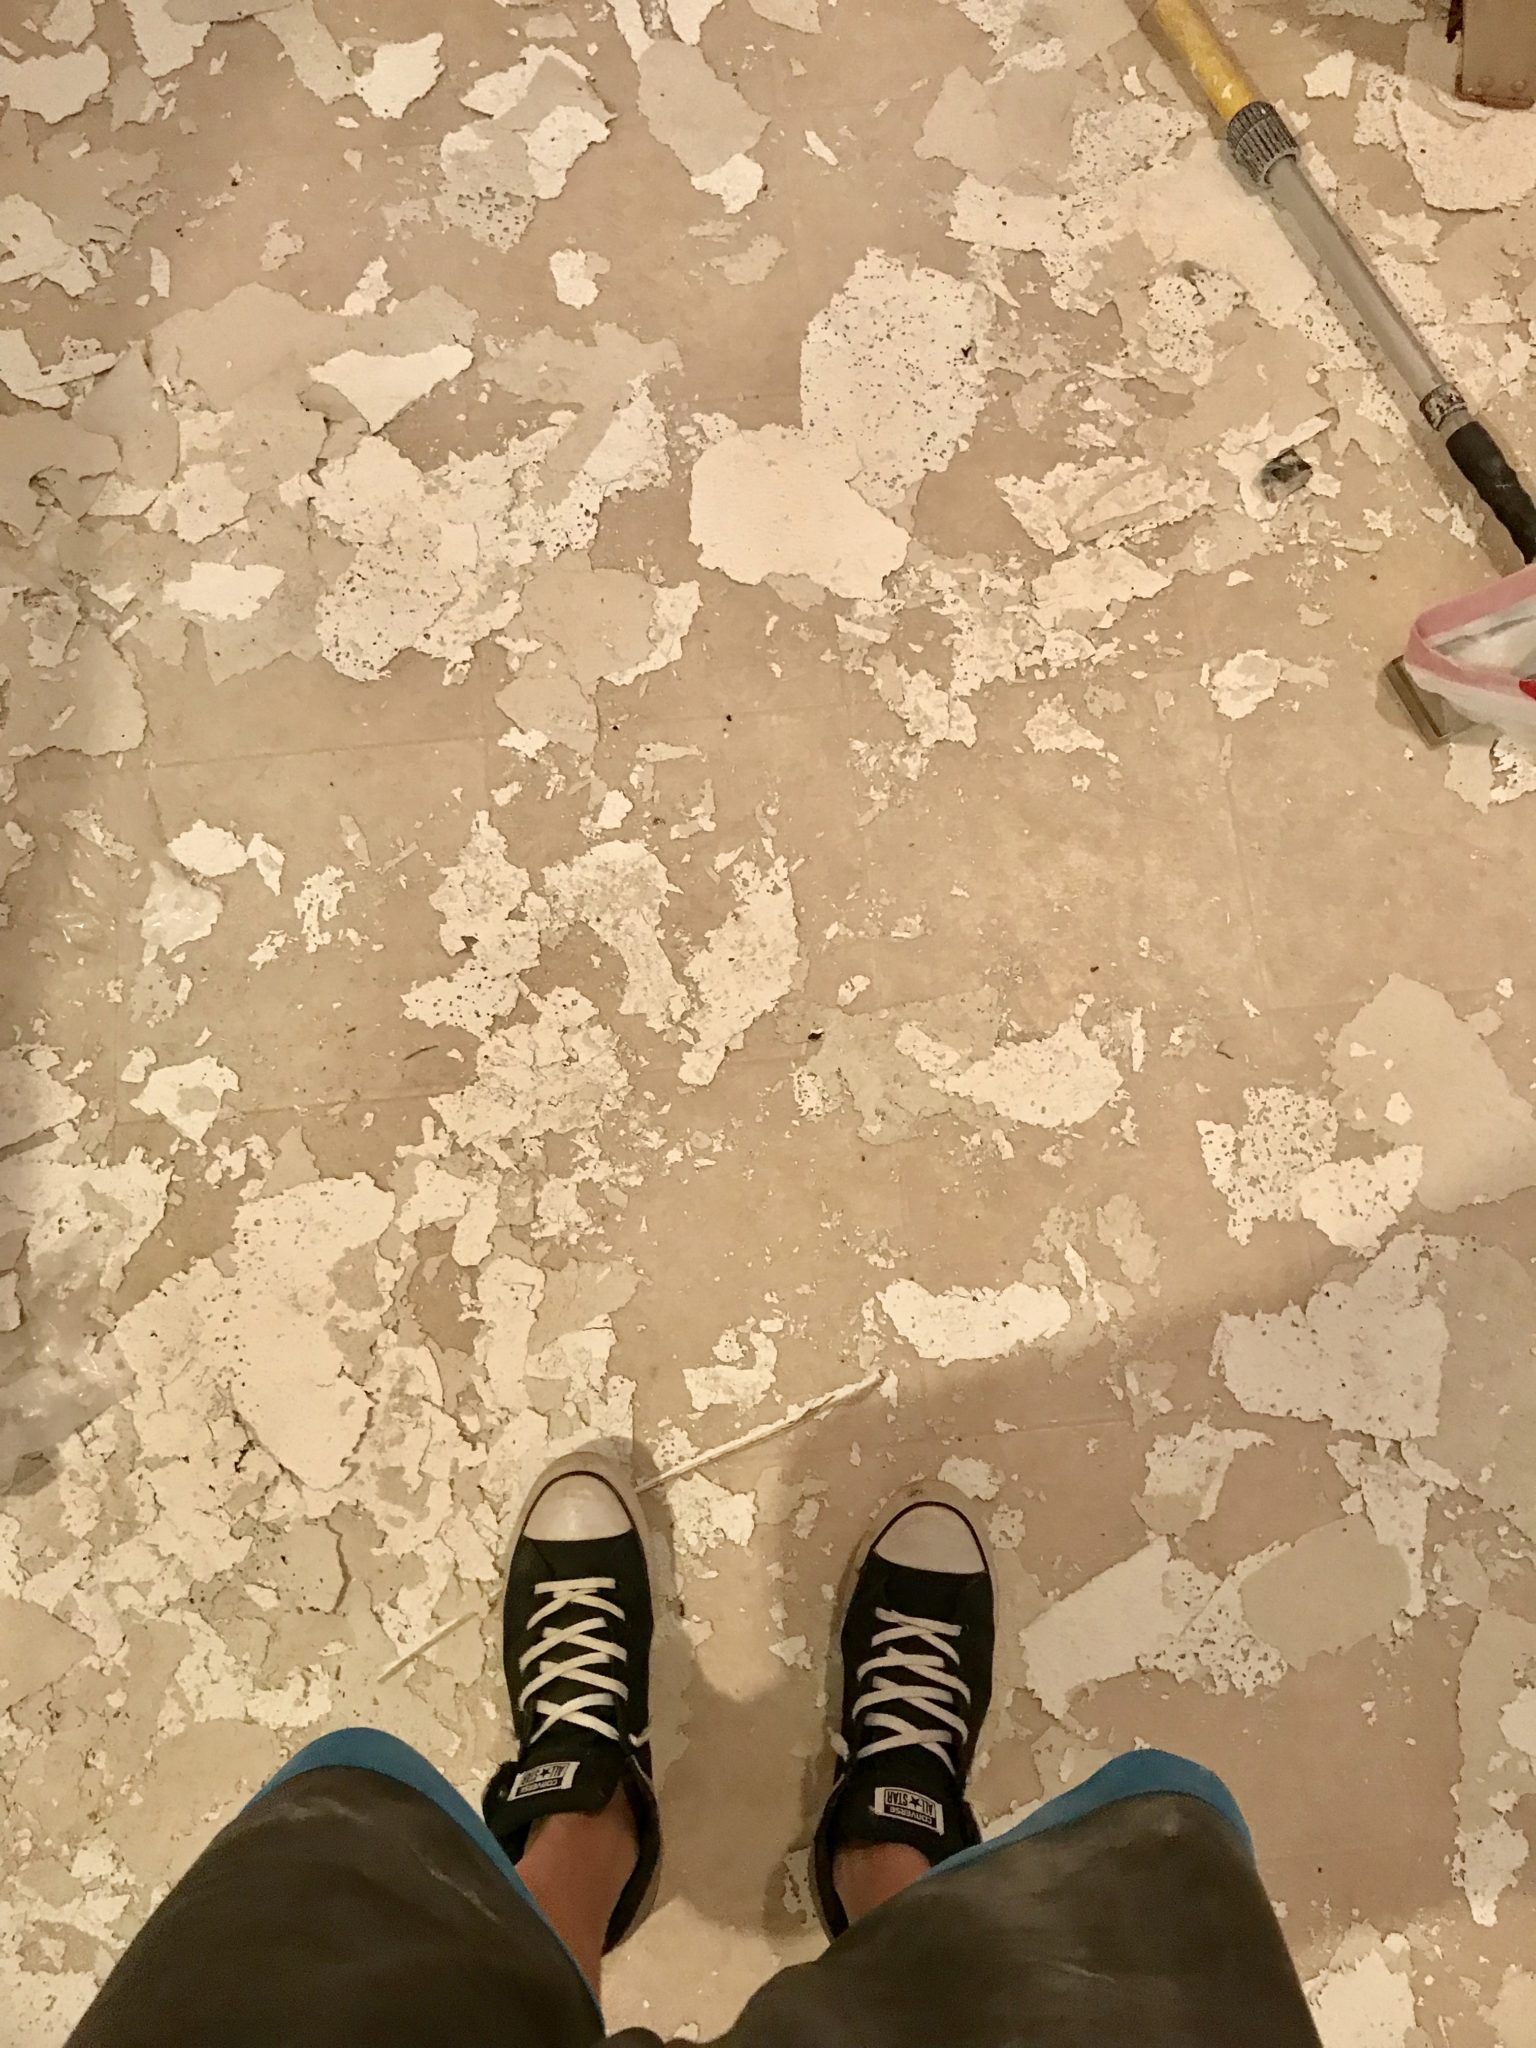
Before you start: this gets super messy and dusty, so you need to cover everything with plastic. When we did our kitchen, we basically had the whole entire thing in plastic except the floor because we knew we could sweep/vacuum/mop it to take care of that part. But we carefully blocked off from wall to floor.
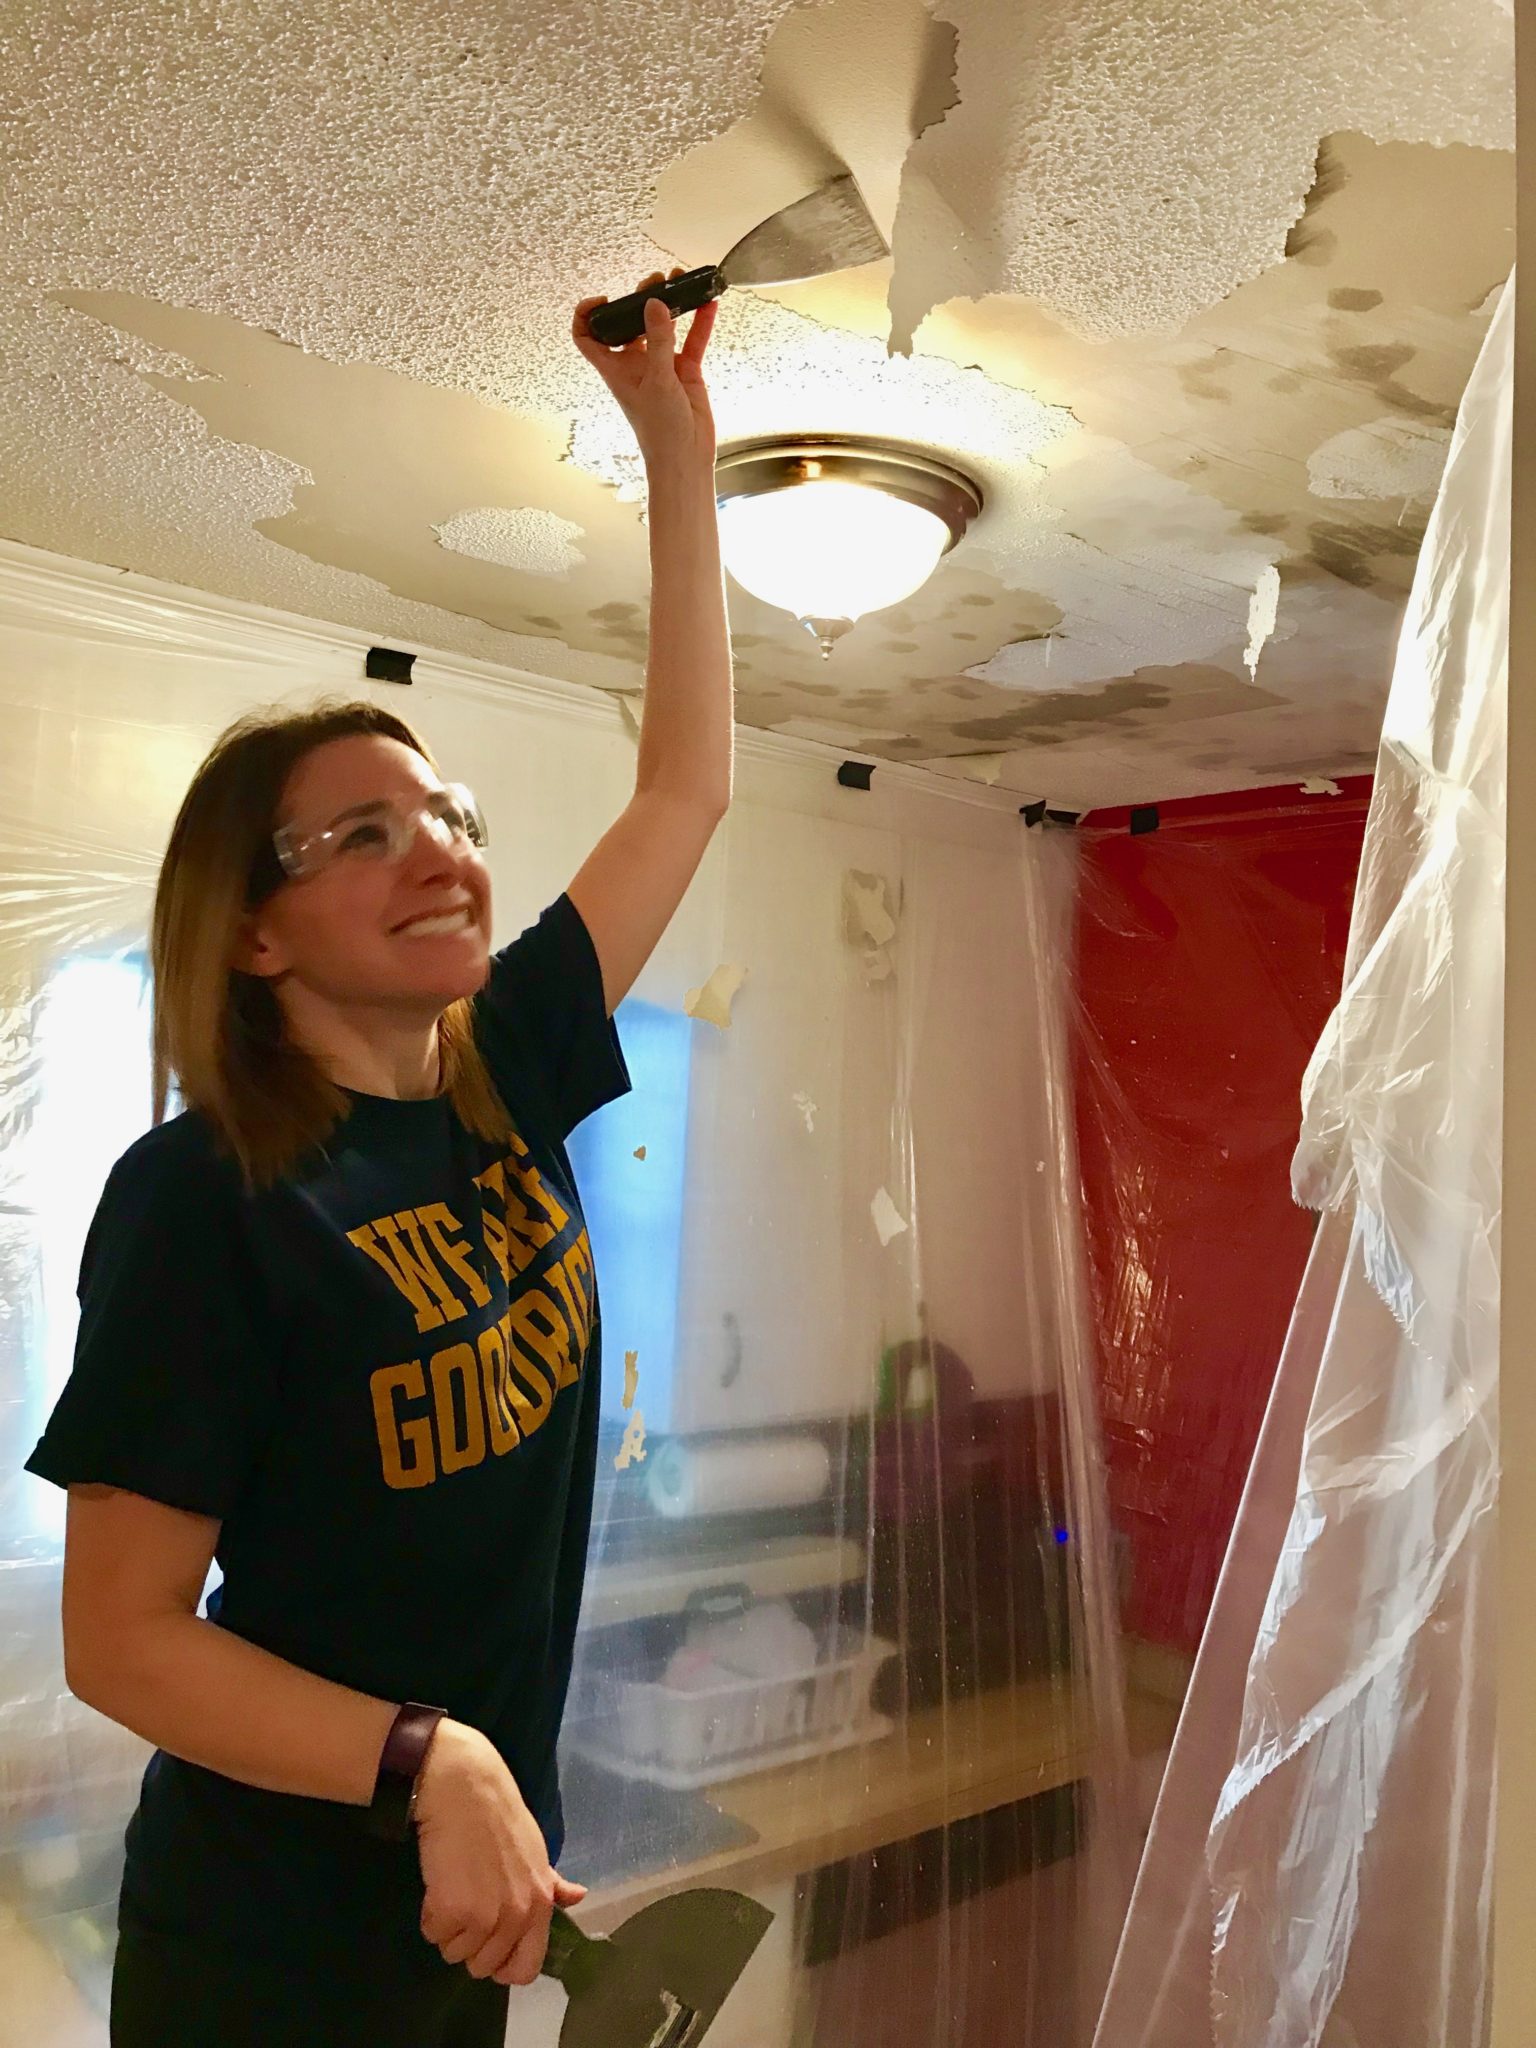
- After you get your yucky clothes and your goggles/mask on, fill your spray bottle with warm water and start spraying small sections of the ceiling. Use the paint scraper to start scraping the popcorn down, angling it very slightly. If your ceiling is like ours, there will be sections where it comes right on down with little or no water needed. Other areas (where the glue was on thick) will need more water and more work to scrape. Remove ALL popcorn.
- Using your sander, you’ll need to sand down the ceiling, concentrating on the areas where glue was. You’ll need to get the ceiling pretty smooth before you even think about repainting it.
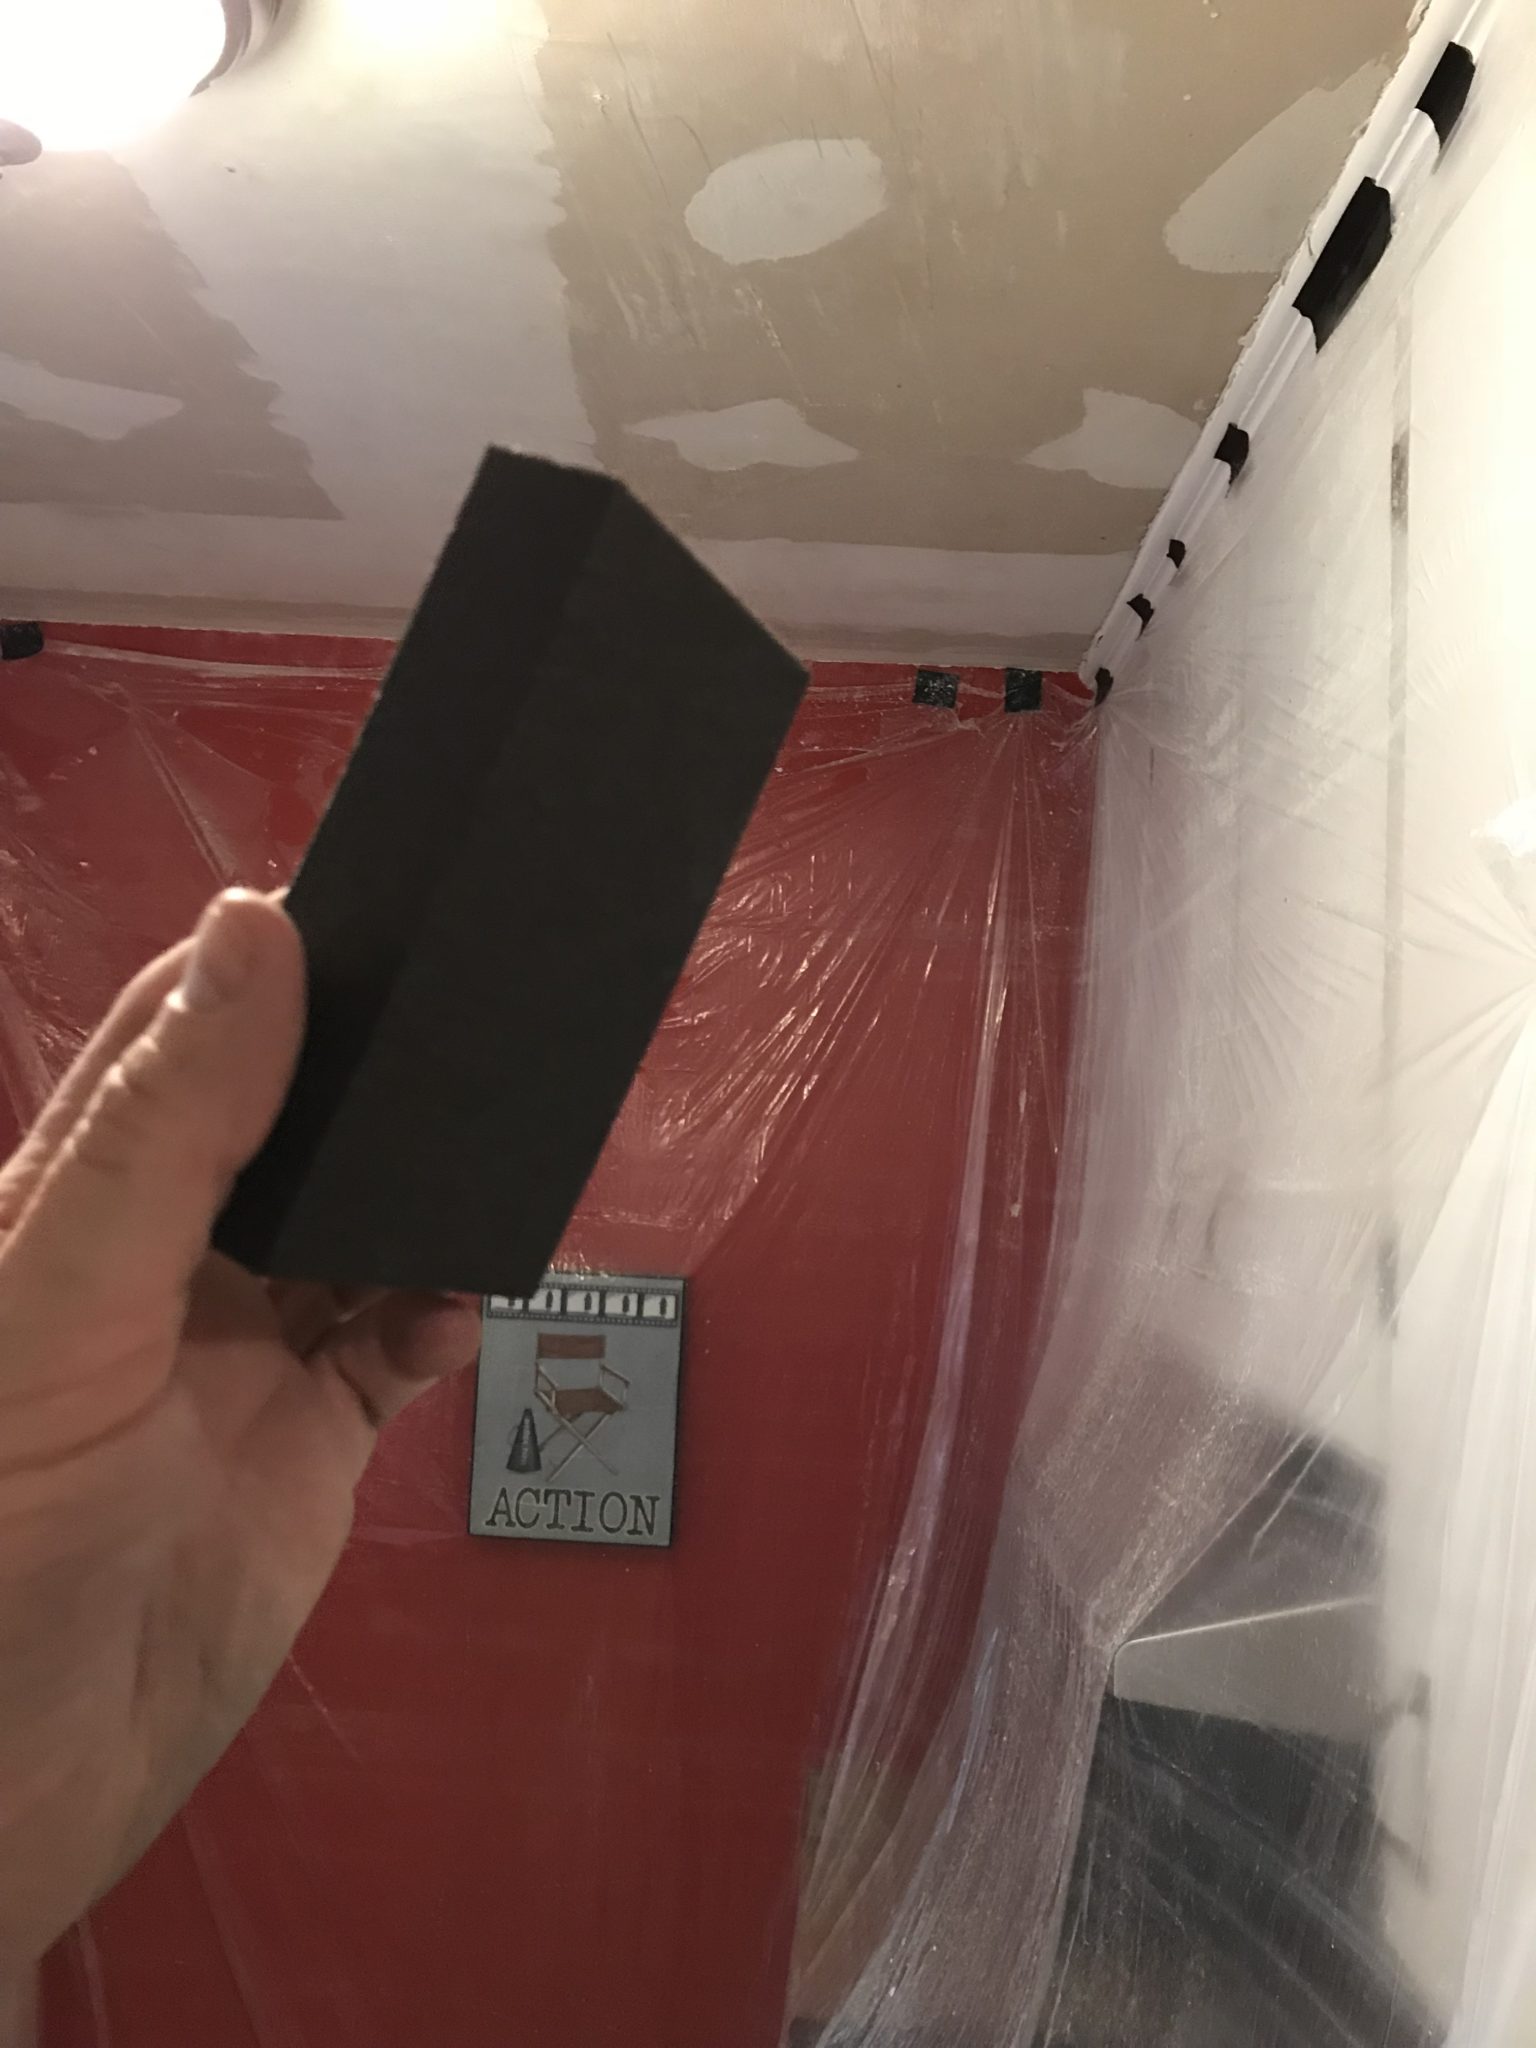
- Grab your broom and sweep all the lingering dust from sanding off your ceiling.
- Once your ceiling is free of dust and dry–you’ve done it! See, not so hard at all, procedure-wise! You just gotta be prepared for really sore arms.
- Obviously, you can’t leave the ceiling unprimed and unpainted, so you’ll need to take care of that too, with all your regular painting supplies–paint, primer, brush, rollers, roller handle, paint tray, painter’s tape, etc.
Once you’ve finished painting the ceiling, you’ll look up happily because you no longer feel like you’re in an episode of a 70s sitcom. 🙂
Have you ever attempted this project? What are some home improvement/DIYs you’ve done? How’d they go?


Thank you for sharing such a comprehensive guide on removing popcorn ceilings! Your step-by-step approach makes what can seem like an overwhelming task feel much more manageable. I appreciate the tips about safety precautions and the importance of checking for asbestos before starting the removal process. It’s also great that you included the various methods available, as this helps readers choose the right one based on their comfort level and tools at hand.
I’m particularly interested in the finishing touches after the popcorn is removed. Do you have any recommendations for the best types of ceiling textures or paints to use for a fresh, updated look once the popcorn is gone? Your insights would be invaluable as I consider how to approach the final step!
Hi Mitch! It’s been some time since we tackled this project, but we just used regular ol’ ceiling paint after removal. We usually use Behr white ceiling paint and have never had any issues (for previously popcorned ceilings or just refreshing flat ones!).